
How Fitment Works: Trial Fitting, Gaps and Why "Bolt-On" Isn't Always Perfect
Fitment is how well an aero panel agrees with the car: the gap, the flush and the contact pattern, measured on a real car — not promised by the word bolt-on.

Fitment is how well a part agrees with the car it was made for. Not whether it can be attached — whether, once attached, every edge lands where the body line says it should, the panel sits against the body without being forced into place, and the gaps read the same on both sides of the car. A part can be bolted on in ten minutes and still fit badly. That distinction is the whole subject.
For aero panels the word covers three separate questions, and they fail independently. Do the mounting points line up with the car's existing points? Does the inner surface clear whatever sits behind it — liners, brackets, light housings, washer bottles? And does the visible result hold a consistent gap and step along every edge? The first is a hole-position question, the second is a clearance question, the third is a surface question. Most "fitment issues" people describe are the third one, and most of those were decided months earlier, in the tooling. If you want the vocabulary for the parts themselves first, the aero parts guide covers splitters, lips, spoilers, wings and diffusers one by one.
This guide is about the word in the middle: what body kit fitment actually measures, what a trial fit checks, where gaps come from, and how to tell a gap you can adjust from a panel that has to be remade.
What Fitment Means on a Car
Dictionaries are not much help here. Merriam-Webster records fitment as a furnishing or fixture, usually plural; Cambridge defines it as a piece of furniture or equipment made for a particular space. Both describe the object, not the quality of the fit. In the trade the word moved: fitment now means the relationship between the part and the car, and "good fitment" means that relationship is tight and even.
That relationship has three layers, and it is worth naming them because suppliers and shops use the same word for different ones.
Layer | The question it answers | How it is judged |
|---|---|---|
Mounting | Do the holes, tabs and brackets meet the car's existing points? | Fitted with fasteners, no new holes |
Contact | Does the panel sit flat against the body without interference or a forced bow? | Contact pattern on the flange, no gap under the edge |
Appearance | Do the gaps, steps and edge lines match the rest of the car? | Gap gauge, straight edge, both sides compared |
A panel can pass the first layer and fail the third. That is the normal failure mode of a cheap kit: it bolts up, it looks acceptable in a photo taken from three meters, and it is obvious in person at the wheel arch.
The word gets confused with wheel fitment because search results are dominated by wheels — offset, width, tire stretch, whether a wheel clears a brake caliper. Wheels are a clearance problem: either the rotating assembly misses the suspension or it does not. Panels are a surface problem: nothing rotates, and the tolerance you are chasing is visible from outside the car. Same word, different physics, and almost nothing written about the wheel version transfers.
Why "Bolt-On" Is a Mounting Claim, Not a Fit Promise
"Bolt-on" describes how a part is fixed: with fasteners into existing points, rather than bonded and blended into the body. It says nothing about the gap. Every OEM bumper cover is also bolted on, and every OEM assembly line still adjusts doors and bumpers before the car leaves.
What bolt-on honestly promises is narrower than buyers assume. It means the part arrives with holes in positions that correspond to the car, hardware in the box, and no cutting or glassing of the body required. It does not mean the panel needs no shimming, no edge trimming, no enlargement of a slot, or that the gap will match the opposite side of the car on the first attempt.
The reason is that the adjustment budget has moved. I-CAR's repair-technical guidance on repair tolerances is written for collision repair, and what it records is that newer vehicles are often built with non-adjustable door hinges, suspension mounting locations and sensor mounting locations, and that vehicle makers often provide specific measurements to be met rather than a blanket ±3 mm or ±5 mm range. That source does not cover aftermarket aero panels — carrying it over is an inference, not a rule it states: if the car side offers no adjustment, the part has to carry the accuracy. A supplier who says "bolt-on" and stops there has told you about the fasteners, not about the shape.
There is also a legitimate difference between "no modification" and "no preparation". Trimming a molded edge, opening a slot by a millimeter, adding a shim behind a bracket and re-sequencing the fasteners are normal fitting work on a panel that is genuinely well made. Bonding a filler strip into a 6 mm gap is not fitting — that is repairing a shape that was wrong before it left the mold.
The Four Measurements That Decide a Fit
Shops judge a panel with four readings, taken at both ends and the middle of every join. None of them needs a specialist tool beyond a gap gauge, a straight edge and an inspection light.
Measurement | What it is | What a bad reading looks like |
|---|---|---|
Gap width | The distance between the new panel's edge and the adjacent body panel | Even at one end, wide at the other — a taper you can see from a meter away |
Flush / step | Whether the two surfaces sit at the same height across the join | The carbon edge proud of the bumper, or sunk behind it |
Parallelism | Whether the gap stays the same width along its whole length | Pinched at the corner, open in the middle |
Contact | How the panel touches the body flange, with no fasteners pulling it | Contact at two points only, a visible shadow under the edge |
Variation is what the eye catches, not absolute size. A gap that reads 4 mm at both ends of a side skirt looks intentional; one that runs 3 mm to 6 mm looks broken even though neither number is unusual. That is why the second side of the car matters more than any single figure: it is the reference the eye uses.
Absolute targets are vehicle-specific. Manufacturers publish their own measuring points and values — a factory body repair manual carries a gap and flush dimensions section that lists them joint by joint, in millimeters, for one model — so a shop should be working to the numbers for that car rather than to a number carried over from the last one. The practical test is comparative: measure the factory gap on the other side of the same car, then make the new panel read the same.
What a Trial Fit Actually Checks
A trial fit is also called a dry fit, and dry fitting means exactly that: the panel goes on with no adhesive, no sealant and no final torque, so it can come straight back off. Shops use "test fit" and "trial fit" loosely, often interchangeably, so treat the two labels as informal shorthand rather than as fixed industry terms. In this guide, a trial fit is the longer of the two checks: it answers "what has to change before it goes on for real", not only "will it go on".
The sequence that catches problems, in order:
- Locate, don't fasten. Hang the panel on two points only, hand-tight. If it needs force to reach the second point, stop: the shape or the hole position is wrong, and tightening will just store the error in the panel.
- Read the contact pattern. Look along the flange with an inspection light. Contact should be continuous. Two shiny spots and a shadow between them means the panel is rocking on a high point.
- Measure the gaps at both ends and the middle of every join, then repeat on the other side of the car.
- Check flush at the join. Run a straight edge across the seam; a step shows up as a click under your finger.
- Hunt interference, not just fit. Wheel arch liners, brake cooling ducts, tow hook covers, parking sensors, fog lamp housings, washer jets, hood latches, hood struts. These are the parts that fit on the bench and foul on the car.
- Mark, don't adjust in place. Mark the correction on the panel with a paint pen, remove it, work on the bench, refit. Adjusting a panel while it is bolted up means you are correcting it against a shape it is being forced into.
- Refit and re-measure everything. Every correction moves the neighbouring gaps; a trimmed front edge changes the gap at the wheel arch.
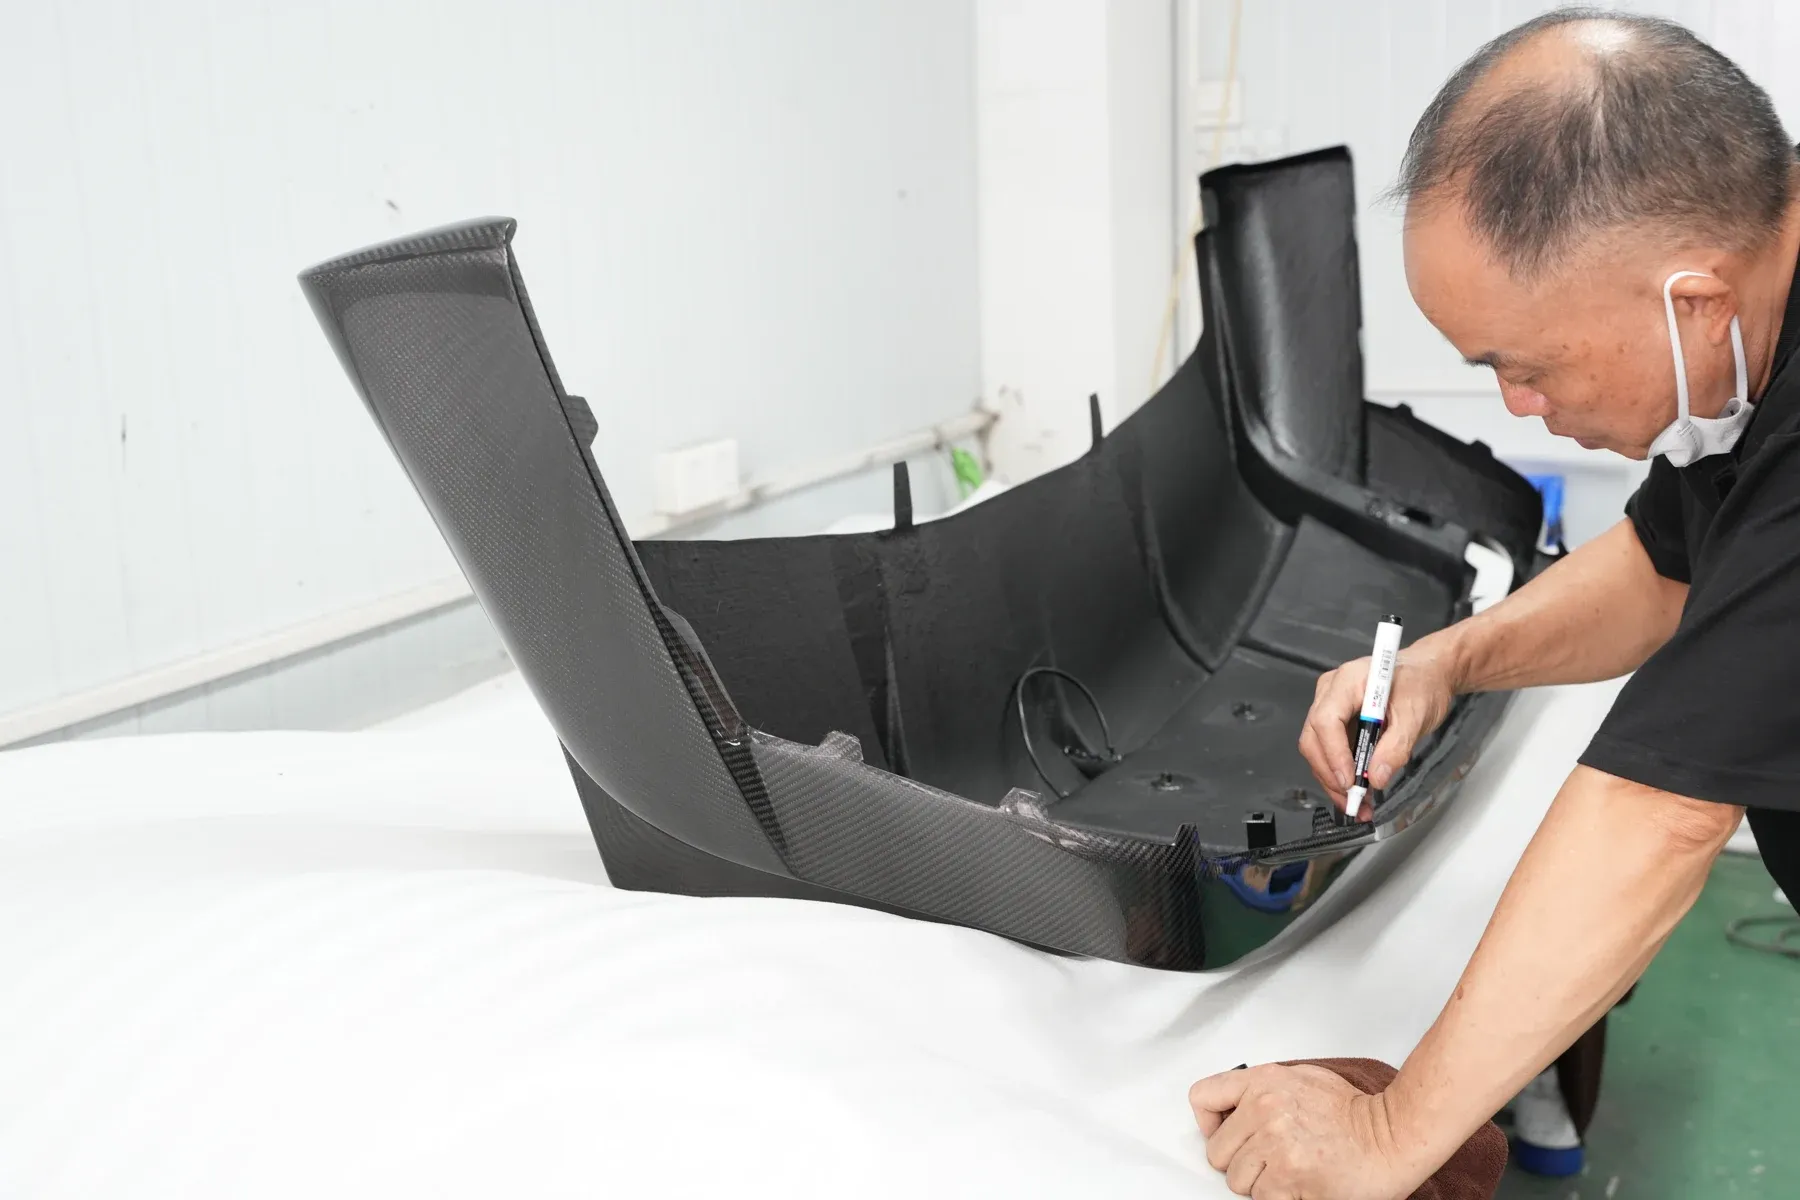
Test fitting is a step in its own right in panel replacement, not a courtesy. I-CAR's exterior panel fit-up note treats checking fit-up against the adjacent panels as what separates a quality repair from a failed one, and adds a condition that decides the reading before any gauge comes out: the car has to be level and sitting on its suspension — or standing on a fixture bench — otherwise the numbers are taken on the wrong shape.
Steps 3 and 4 are the ones shops skip when a car is in a hurry, and they are the only two that produce a number. "It looks fine" is not a measurement, and a customer will measure it in the daylight in front of the shop.
A trial fit only proves the shape if the shape was worth trusting in the first place. How a panel gets from a scan to a mold, and where the fitting check sits in that sequence, is covered in how custom aero panels are made.
Where Gaps Come From: Five Sources
When a panel does not fit, the instinct is to blame the part. The part is one of five contributors, and it is rarely the only one. Sorting them is what decides whether the fix is a shim or a new mold.
Source | What it produces | Who fixes it |
|---|---|---|
The car | Uneven factory panel alignment, previous repair, a different bumper or light unit already fitted, altered ride height | The shop, before the part is judged |
The part | Mold wear, spring-back after demold, resin shrinkage, an over-trimmed edge | Supplier, or the shop within the trim allowance |
The tooling | A master built from one car, or a part held out of shape during cure | Supplier only — this is the expensive one |
The installation | Fastener sequence, over-tightening pulling a flange, a missing shim or spacer | The shop |
The environment | A panel fitted cold and inspected warm; a painted FRP part that moved in the booth | The shop, by fitting and checking at the same temperature |
The car side is underrated. Model years, facelifts and trim levels differ between markets, and a car carrying the same model name can have a different bumper, different mounting points or a different light unit. Two cars of the same model and year can also differ by a millimeter or two of factory build variation, which is why a panel that fits one perfectly can be slightly tight on the next.
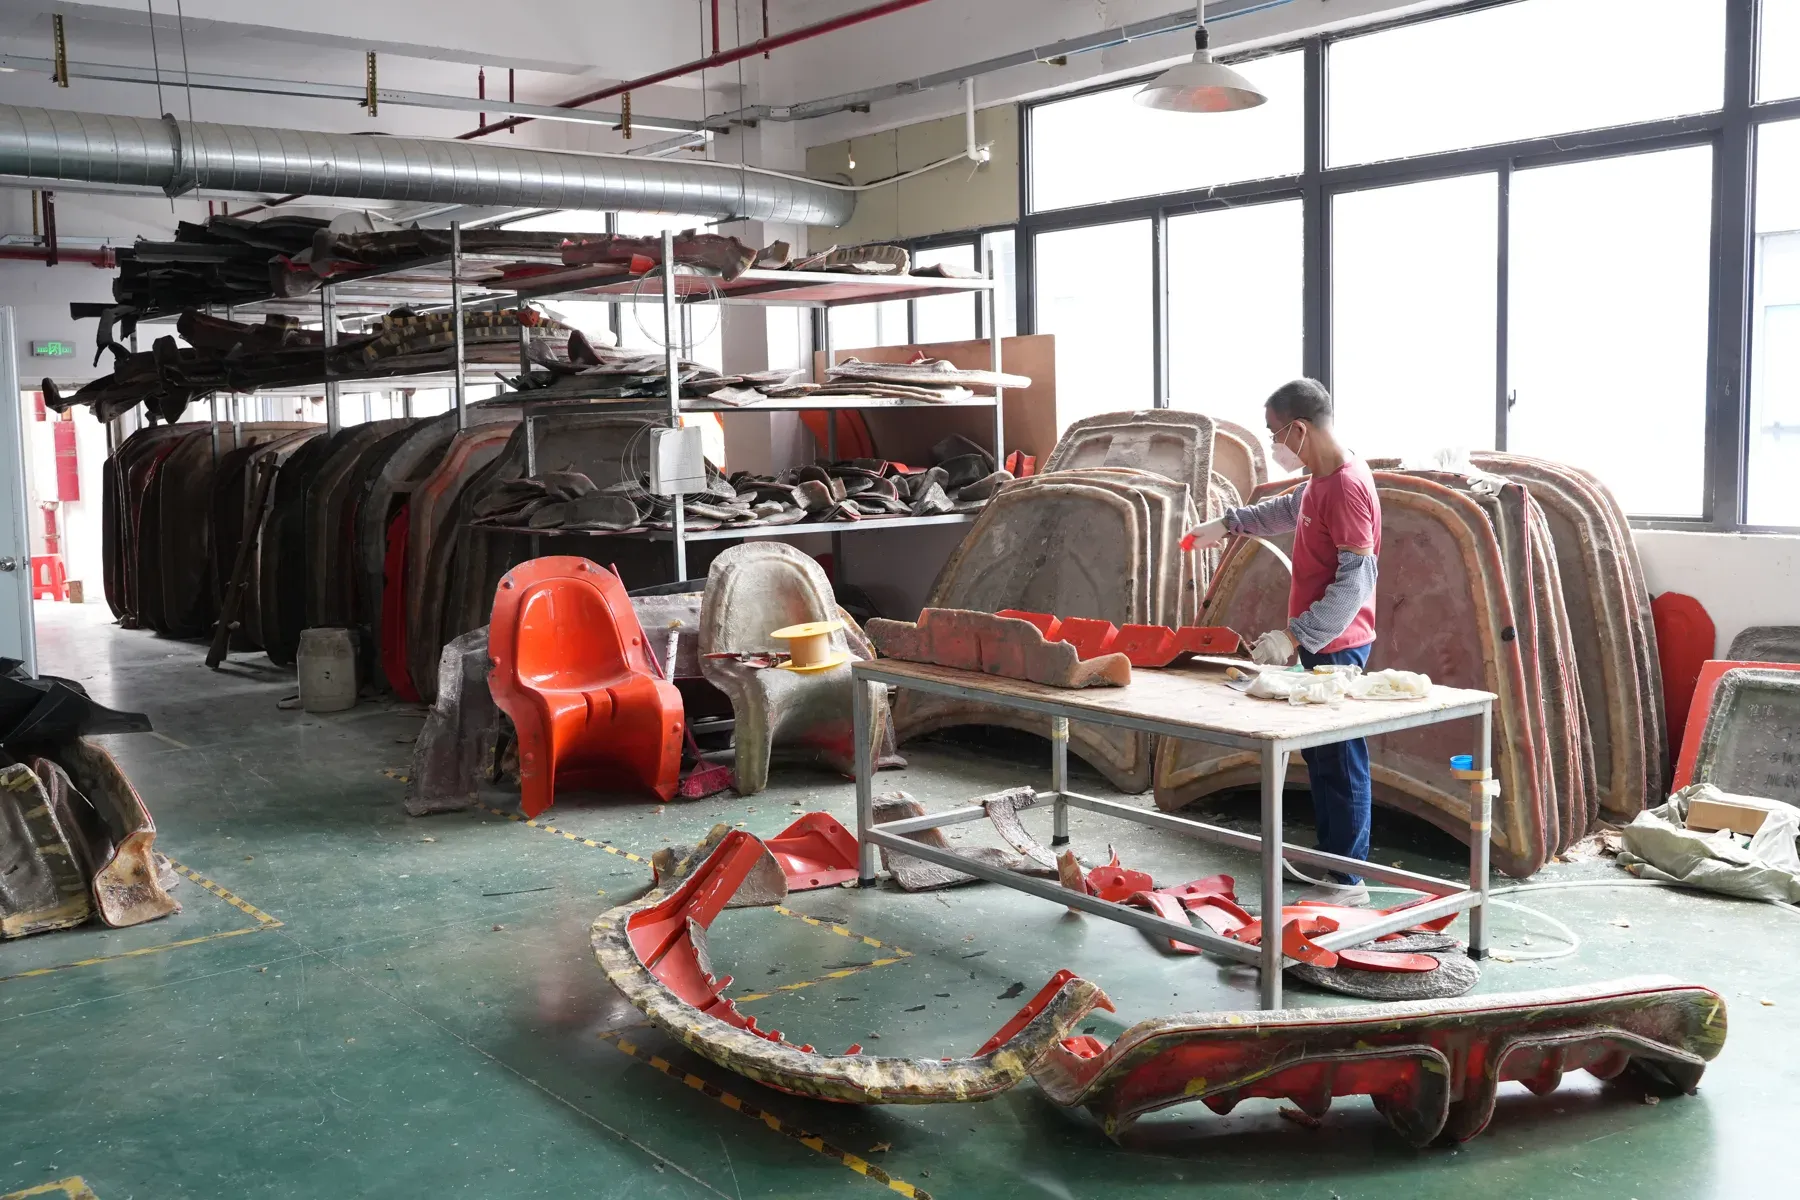
The tooling side is where the money is. If the master was built against a scan of a car that was itself out of alignment, the error is copied into the mold and then reproduced on every part that comes out of it. A correction before the mold is cut costs a print and a day; after it, it costs the tooling.
What Changes With Material
The fitment standard should not change with the grade, but the amount of movement after demold does. The material guide sets out the five grades the shop works in; for fitment, the relevant difference is how much the panel wants to move after it leaves the mold.
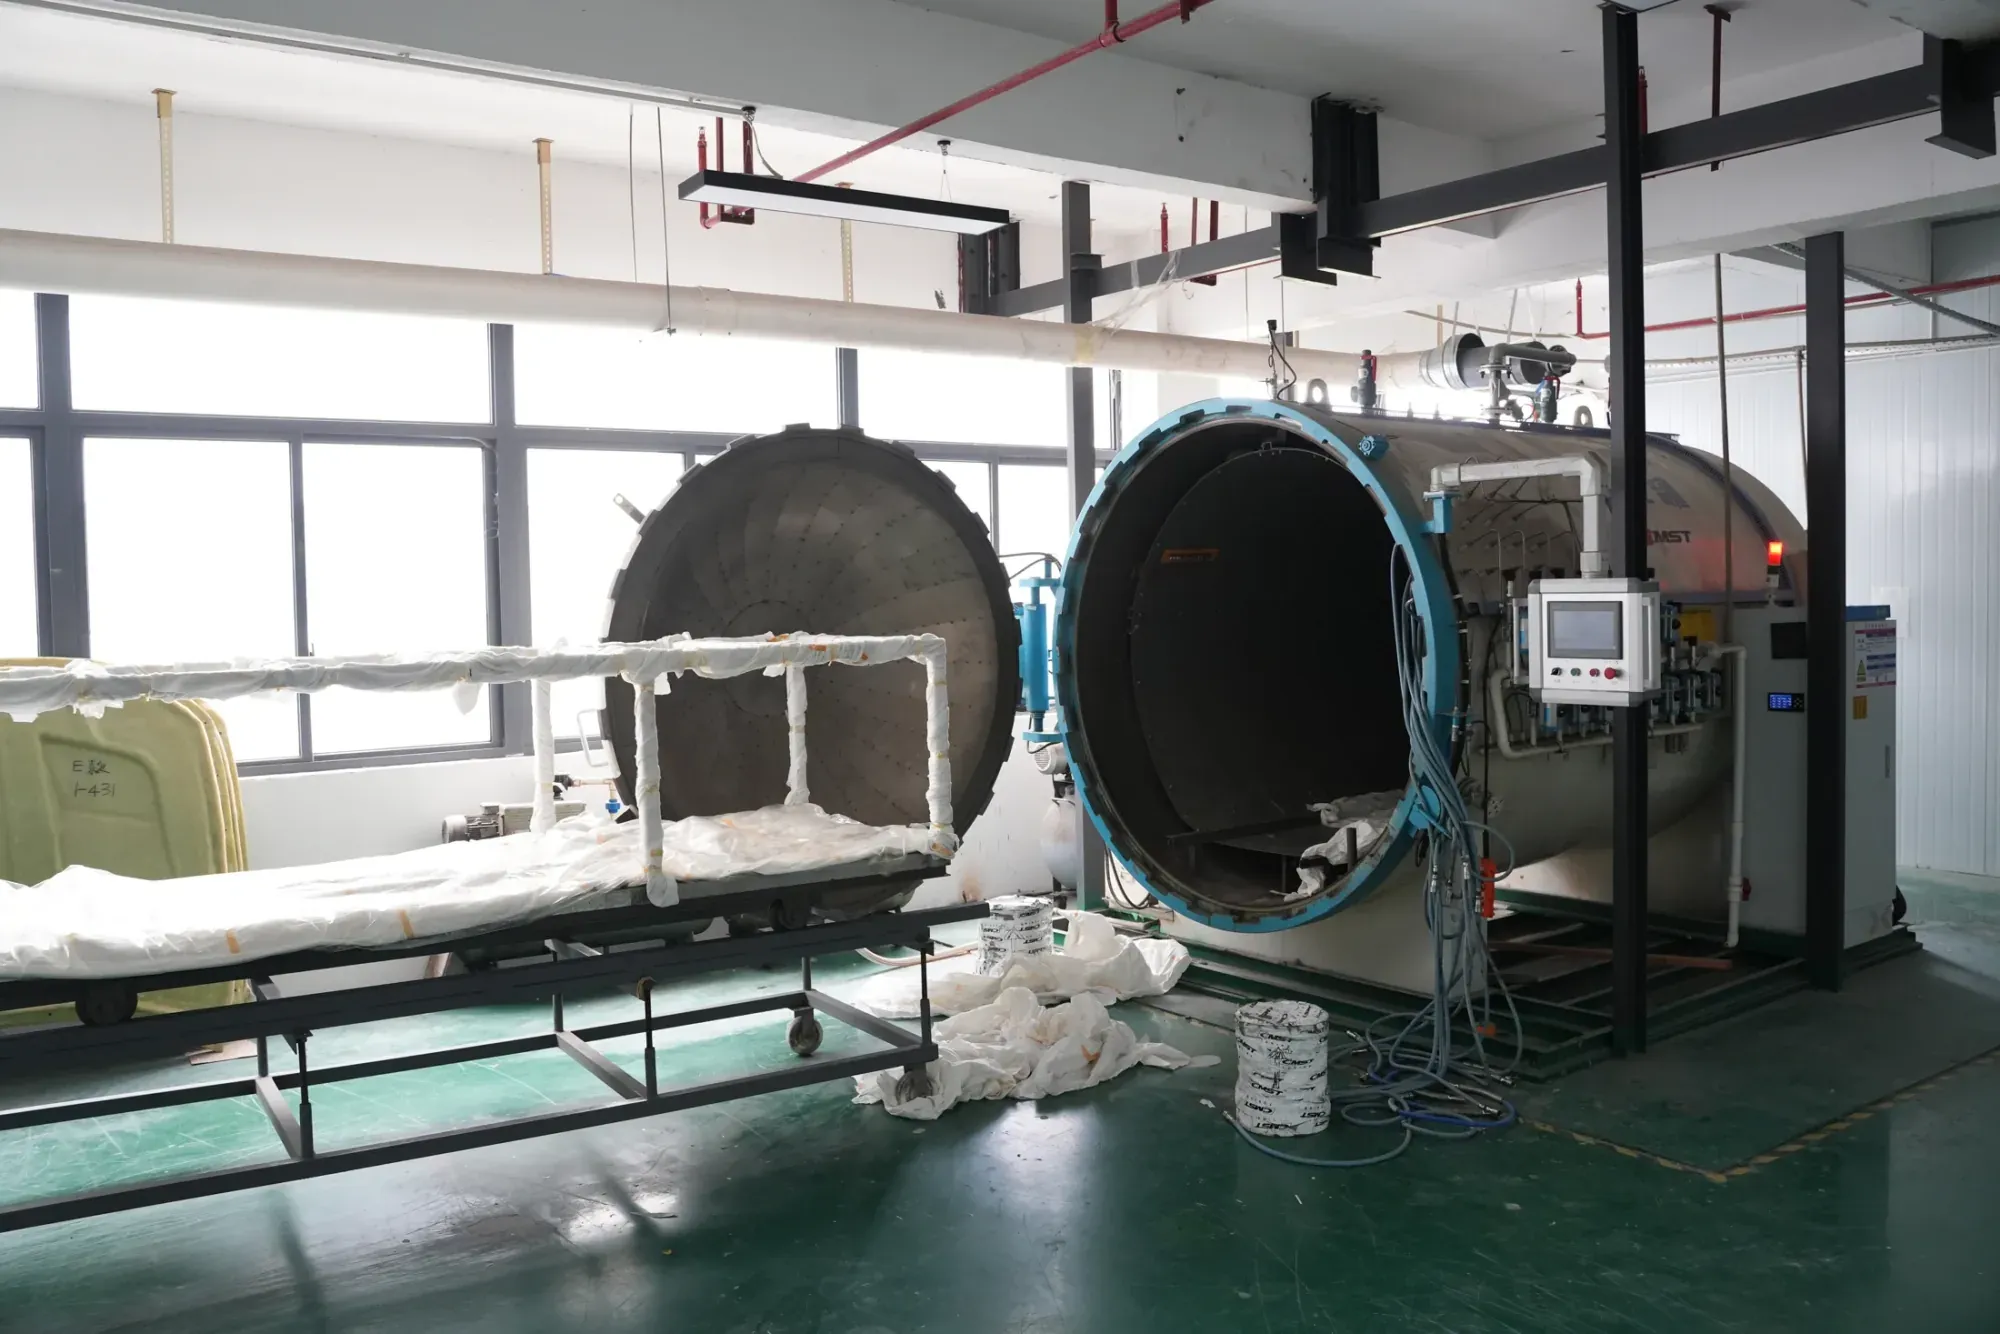
- Dry carbon — prepreg laminate, cured under heat and pressure. The resin is already in the cloth, so resin content is fixed before lay-up rather than added afterwards; with the cure under pressure there is less free resin to move once the part comes off the mold.
- High-temperature vacuum carbon — high-temperature vacuum forming, finished in gloss clear coat. Stable enough for volume production; the cure cycle is the variable to hold constant.
- FRP — glass fiber with resin primer, usually painted body color. More resin in the laminate means more of the final shape is set by cure and paint build rather than by the mold alone; paint also hides small gap variance while making waviness more obvious.
- ABS — vacuum-formed sheet, molded-in gloss or matte black. A deep draw stretches the sheet and the stretched areas can hold part of that deformation, so read the gap at the edges of a deep pull before trimming to finished size.
- PP — injection molded, dimensionally repeatable at volume, and the grade where the tool decides almost everything.
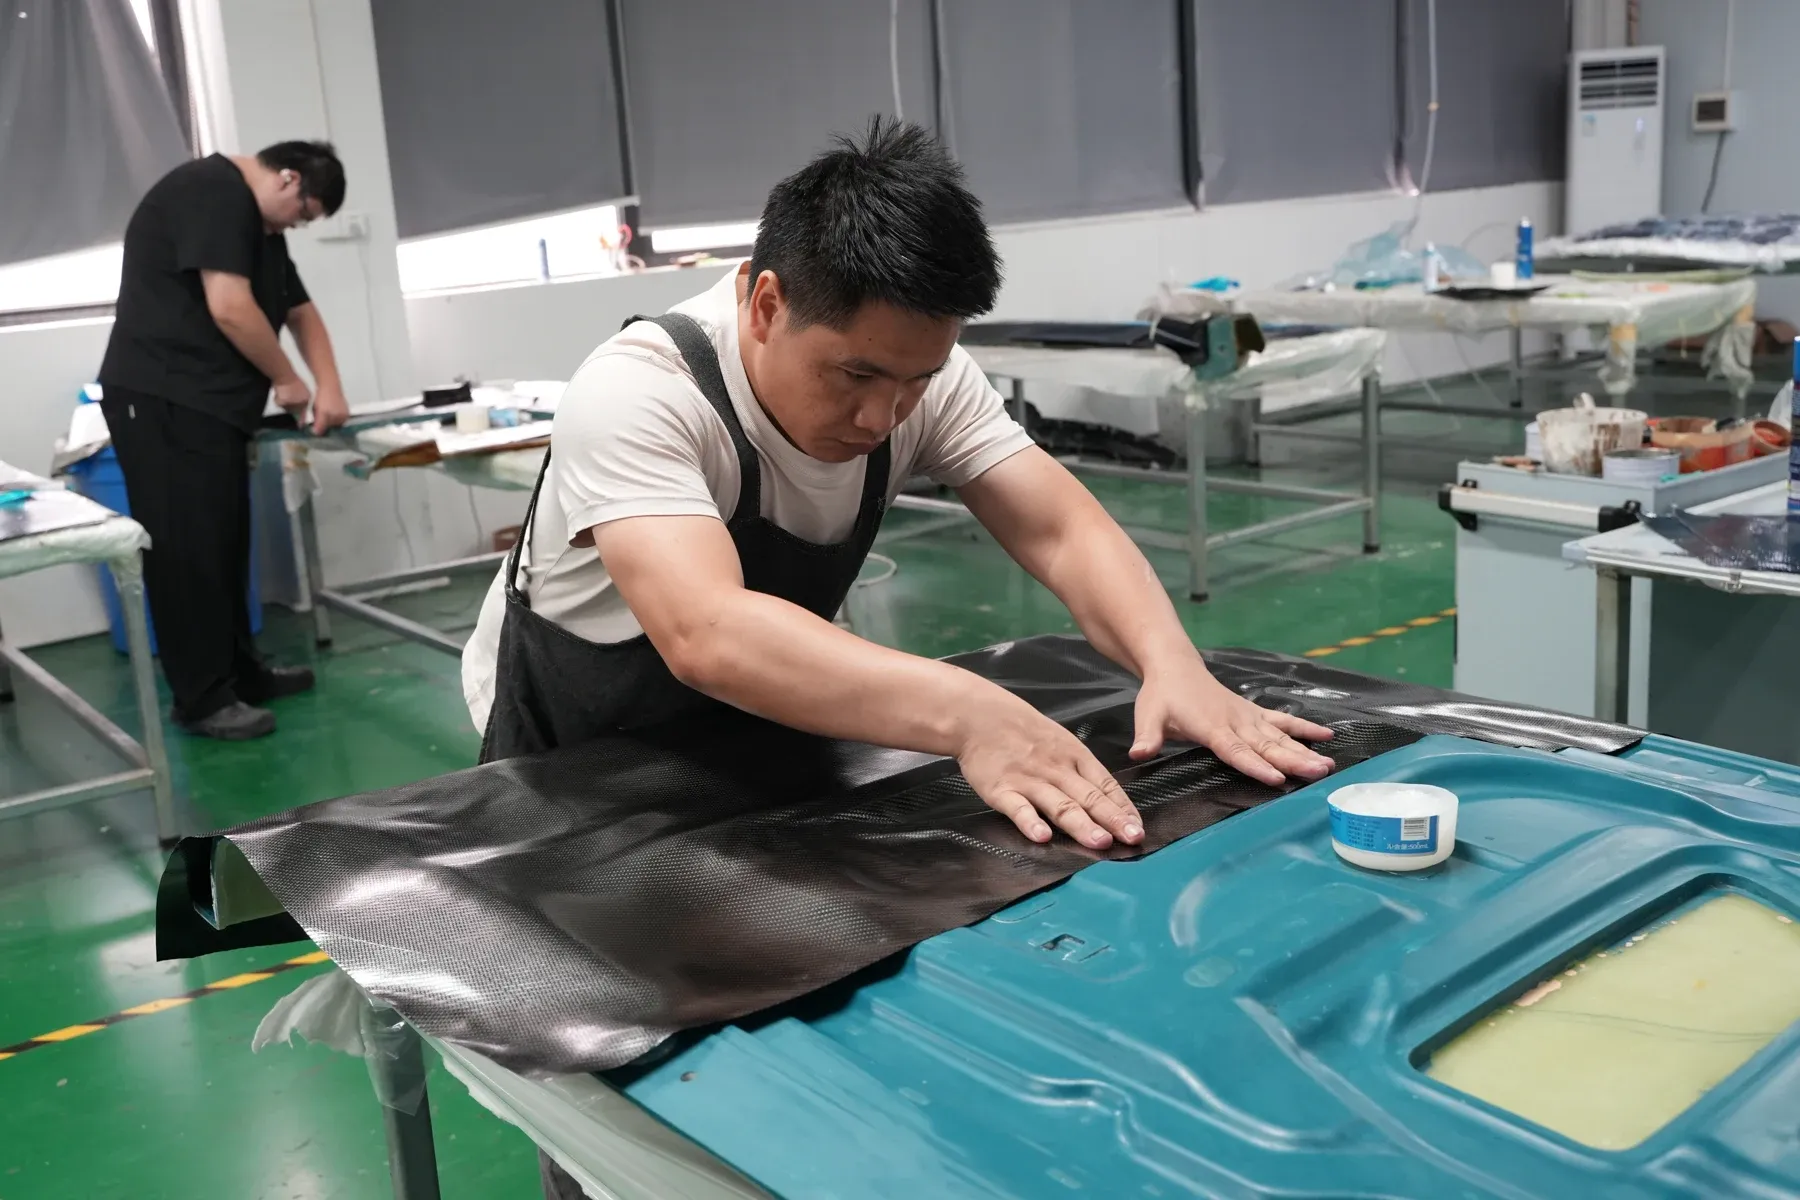
One practical consequence: a painted FRP kit and a bare carbon kit built from the same tooling will not read identically on the car. Paint thickness, primer build and booth temperature all land in the gap. That is not a fitment failure, but it has to be planned for in the same measurement pass.
Adjustable or Remake?
Most fitment disputes are really a disagreement about which of these two situations you are in. The difference is measurable, and it is decided at the trial fit, not after the panel is painted.
Symptom | Likely cause | Action |
|---|---|---|
Gap even along the join, but 1–2 mm tighter than the other side | Build variation or a shim missing | Adjust washers or shim; re-torque in sequence |
Panel sits proud at one end, flush at the other | Mounting point or a twisted flange | Slot or shim within allowance, then re-measure |
Gap tapers steadily along a straight edge | Part shape, not positioning | Trim only if the taper is inside the trim allowance — otherwise remake |
Panel touches only at two points, shadow between | Mold or spring-back | Remake; a shim will not close a hollow |
Gap correct on the bench, wrong on the car | Interference pushing the panel out | Find and relieve the interference before touching the shape |
Painted FRP panel moves after the booth | Cure and paint build | Re-check warm; adjust, do not trim |
The rule shops use: never chase a taper by trimming the wide end. Removing material at one end moves the problem to the corner, thins the edge and changes the radius where the panel meets the body. If the gap has to be closed by more than the material you were given to remove, the shape is wrong and the answer is a remake, not a file.
Six Questions to Ask Before You Order
Fitment is decided long before the pallet arrives, and almost all of it is answerable in writing. These are the six questions worth asking a supplier, with the answers that separate a real process from a marketing line.
- Was this panel trial-fitted on an actual car, and which market's car? The right answer names the stage — master, first production sample, or both — and the market, because a bumper that fits the domestic version of a car may not fit the export version.
- Exactly which years, facelifts and trims does the listing cover? "Fits 3 Series" is not an answer. A part that spans a facelift without saying so is the most common source of a return.
- How much trim allowance is molded into the edge? A panel with material to remove can be adjusted; one molded to finished size cannot.
- Does the hardware ship, and are the mounting points existing holes or new ones? Existing holes mean bolt-on in the honest sense. New holes mean drilling, and drilling is a decision the buyer should make before paying.
- What is the procedure if a panel arrives outside tolerance? Photographs, a measured gap reading, and a replacement decision inside a stated time. A supplier without a procedure has not had the conversation before.
- Is the first production part checked again after the mold is cut? A master that fitted proves the design; a first-article check proves the tooling.
If a supplier cannot answer question 1 or 6, the rest of the answers are decoration.
How CMST Handles Fitment
The process here is built around the sequence those questions describe. Each panel is designed in CAD against the vehicle's own body surface, a full-size master is 3D printed, and the master is assembled on a real car and checked — gaps, mounting points and the line across the joins — before any mold is cut. Corrections go back into the master first. The first parts off the new mold are checked again, and a sample can be shipped for a fit check before the batch runs. The fitment and installation page sets out the eight stages and what arrives in the box.
What that changes for a shop is where the correction happens. A gap corrected at the master stage costs a print and a day. The same gap corrected after tooling costs a mold, and after shipping costs freight in both directions.
Practical points that come out of that process:
- Hardware and fitting instructions ship with every kit, and installation videos exist for most vehicles.
- If a panel does not sit right during fitting, photographs go to the sales engineers and the liability call is confirmed within one working day rather than after a shipment dispute.
- Coverage is per vehicle, not per brand — check the vehicle before assuming a kit spans a facelift.
- The same vehicle is tooled in several grades, so the fitment standard does not drop when the budget does; what changes is the shop work before fitting.
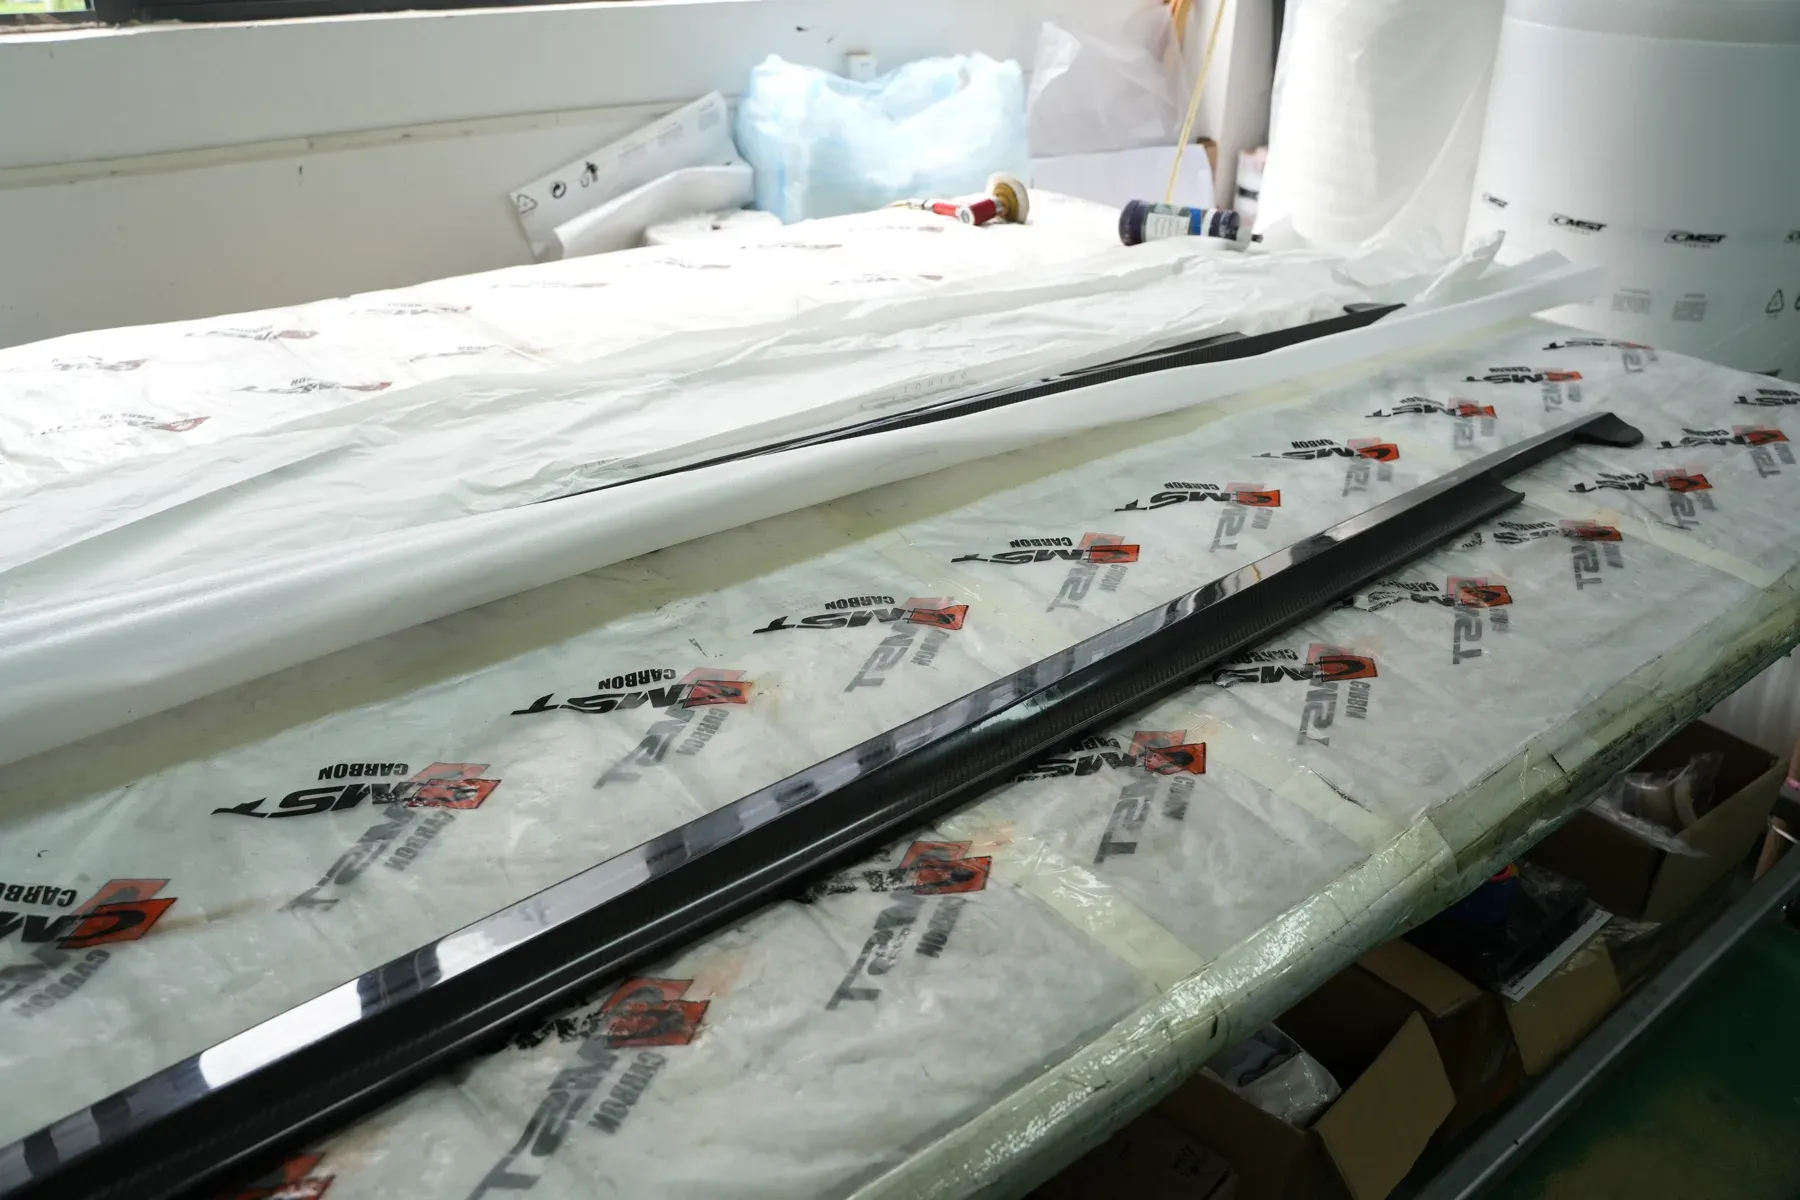
If you are ordering a full set rather than one part, the complete aero sets are built as a matched group, and individual parts can be ordered on their own. One caveat on both: studio photographs flatter a panel, and a customer car photographed in daylight is the harder test — worth asking a supplier for before you commit.
Short Answers
What is fitment on a car? It is how well an aftermarket or replacement part agrees with the vehicle: whether the mounting points meet existing holes, whether the panel sits flat without being forced, and whether the visible gaps and steps match the rest of the body. For aero parts it is a measured relationship, not a product feature.
What do fitment issues mean? Usually one of three things: the panel is the wrong variant for that year or trim, the shape is out of tolerance from the mold, or something behind the panel is pushing it out. The first is a specification error, the second is a supplier problem, the third is an installation problem — and they are told apart at the trial fit.
Is fitment the same as fitting? No. Fitting is the work of installing the part. Fitment is the quality of the result, measured at the gaps, the flush and the contact pattern. A part can be fitted in an afternoon and still have poor fitment.
What is fit-up? Fit-up is the stage where panels are assembled and checked for alignment before final joining — the word comes from fabrication and panel work rather than from retail listings. On a car it is the test-fit stage that decides whether a panel lines up with its neighbours, and on an aero part it is the same work as the trial fit: the point where an adjustable gap is told apart from a remake.
What is a panel gap? The visible space between two adjacent body panels, measured as a width along the join and as a step across it. Consistency matters more than the absolute number: a gap that reads the same at both ends and matches the opposite side of the car looks correct even when it is wider than the factory figure.
Next step
Send the vehicle, the parts you are considering and the finish you want — we reply with fitment notes and a quote.
Send an inquiryKeep reading
Related notes
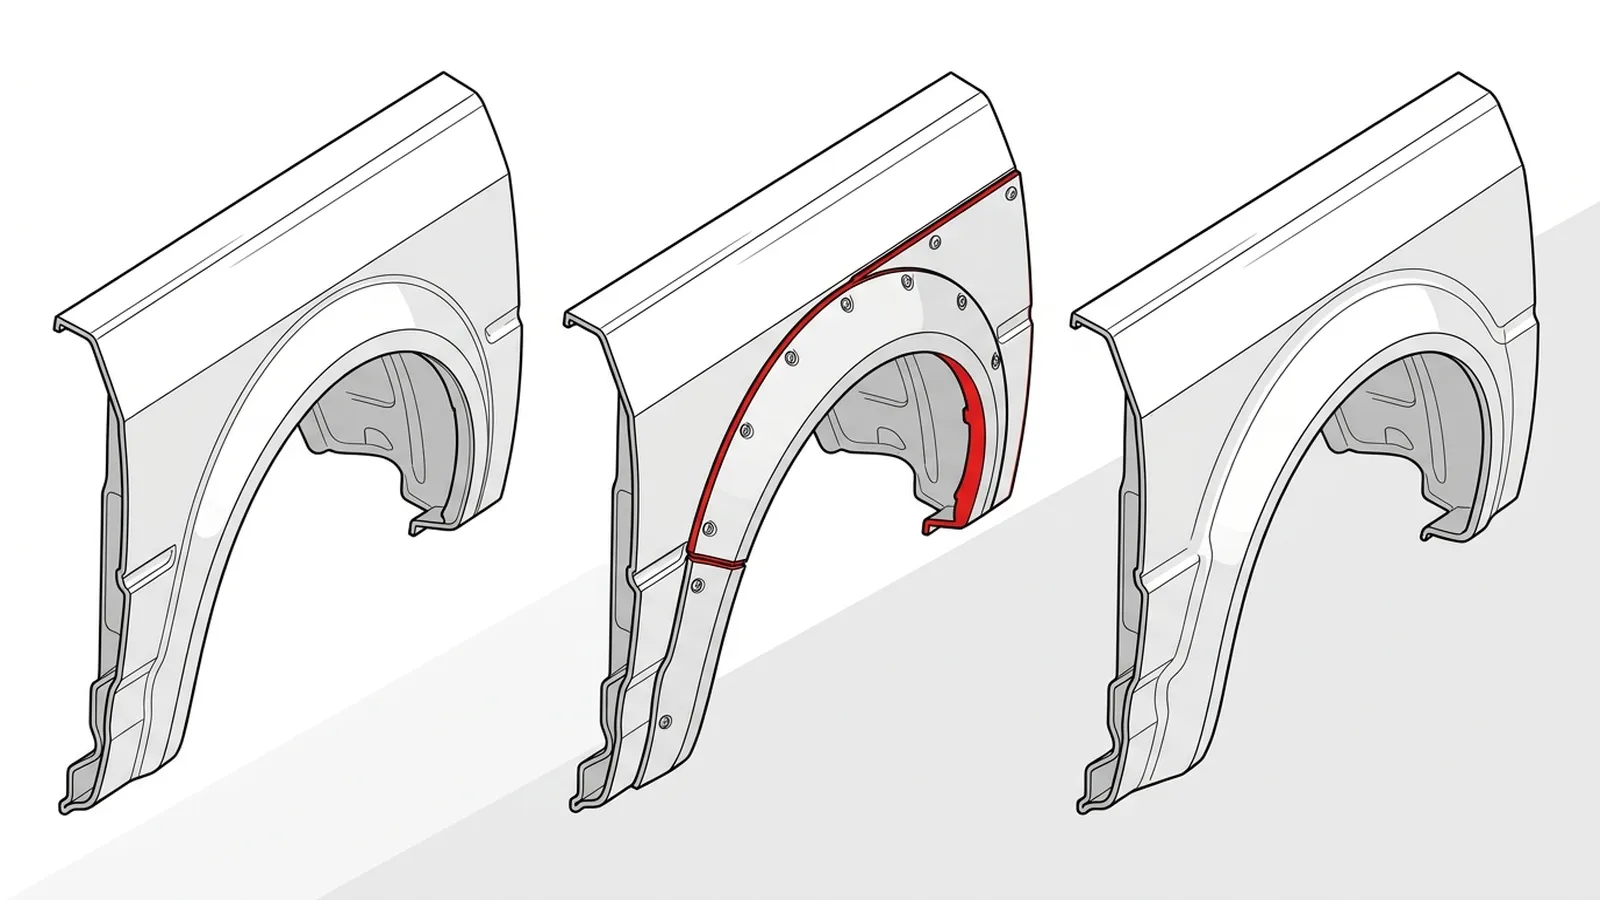
Overfenders vs Fender Flares: Which Fits?
Overfenders and fender flares are one part under two names. What each term means, the three ways to cover a wider wheel, and how to measure before you buy.
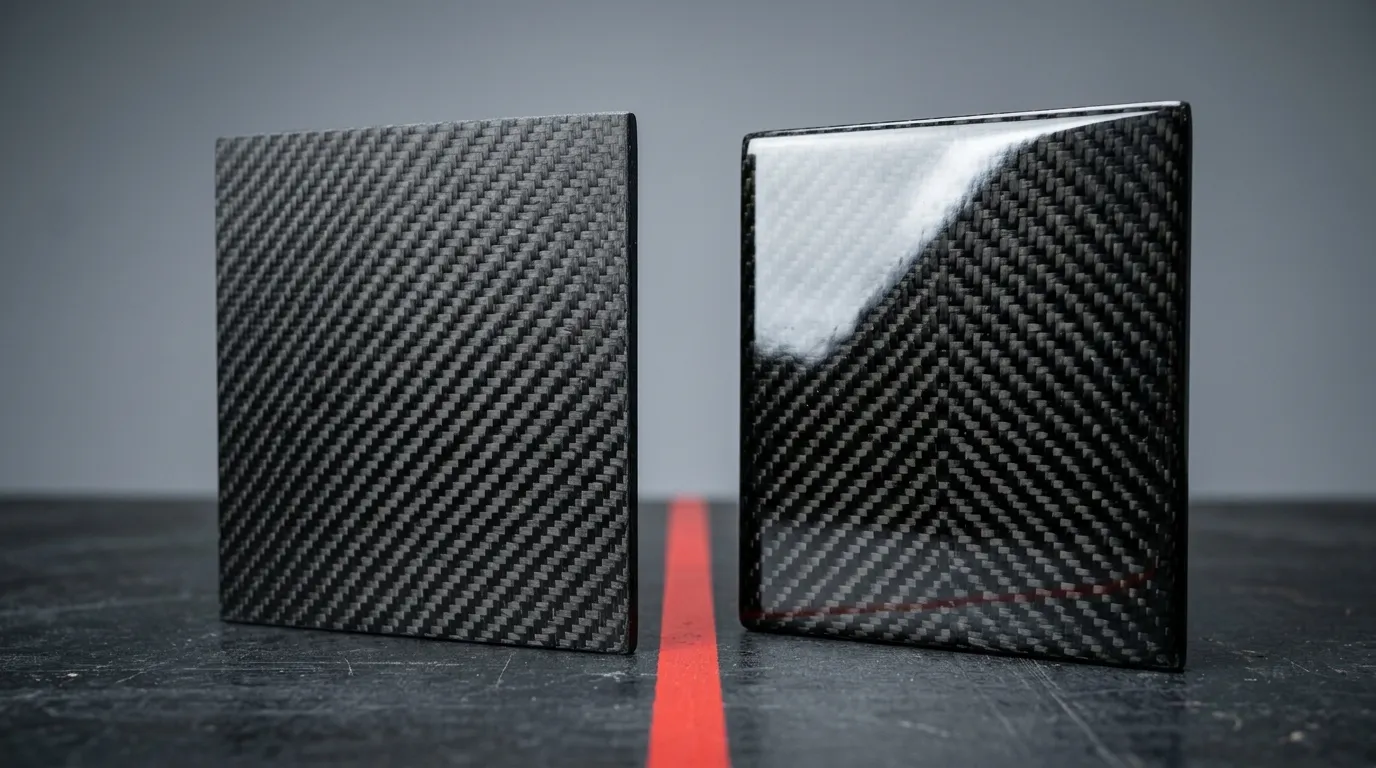
Is Dry Carbon Worth It on a Street Car?
Dry carbon is worth the premium on the panels you look at and lift, not on the parts that get hit, painted or replaced. Here is where the money actually goes.
Buying Direct From a Manufacturer: The Catch
Buying direct from a manufacturer swaps a distributor's margin for its work: stock, fitment answers, support. What a dealer takes on, and how to test it.