
How Are Body Kits Made? From 3D Scan to Production Mold
A custom body kit is a fit problem before it is a design problem. Eight stages, from scanning the car to cutting the mold, decide whether it fits at all.
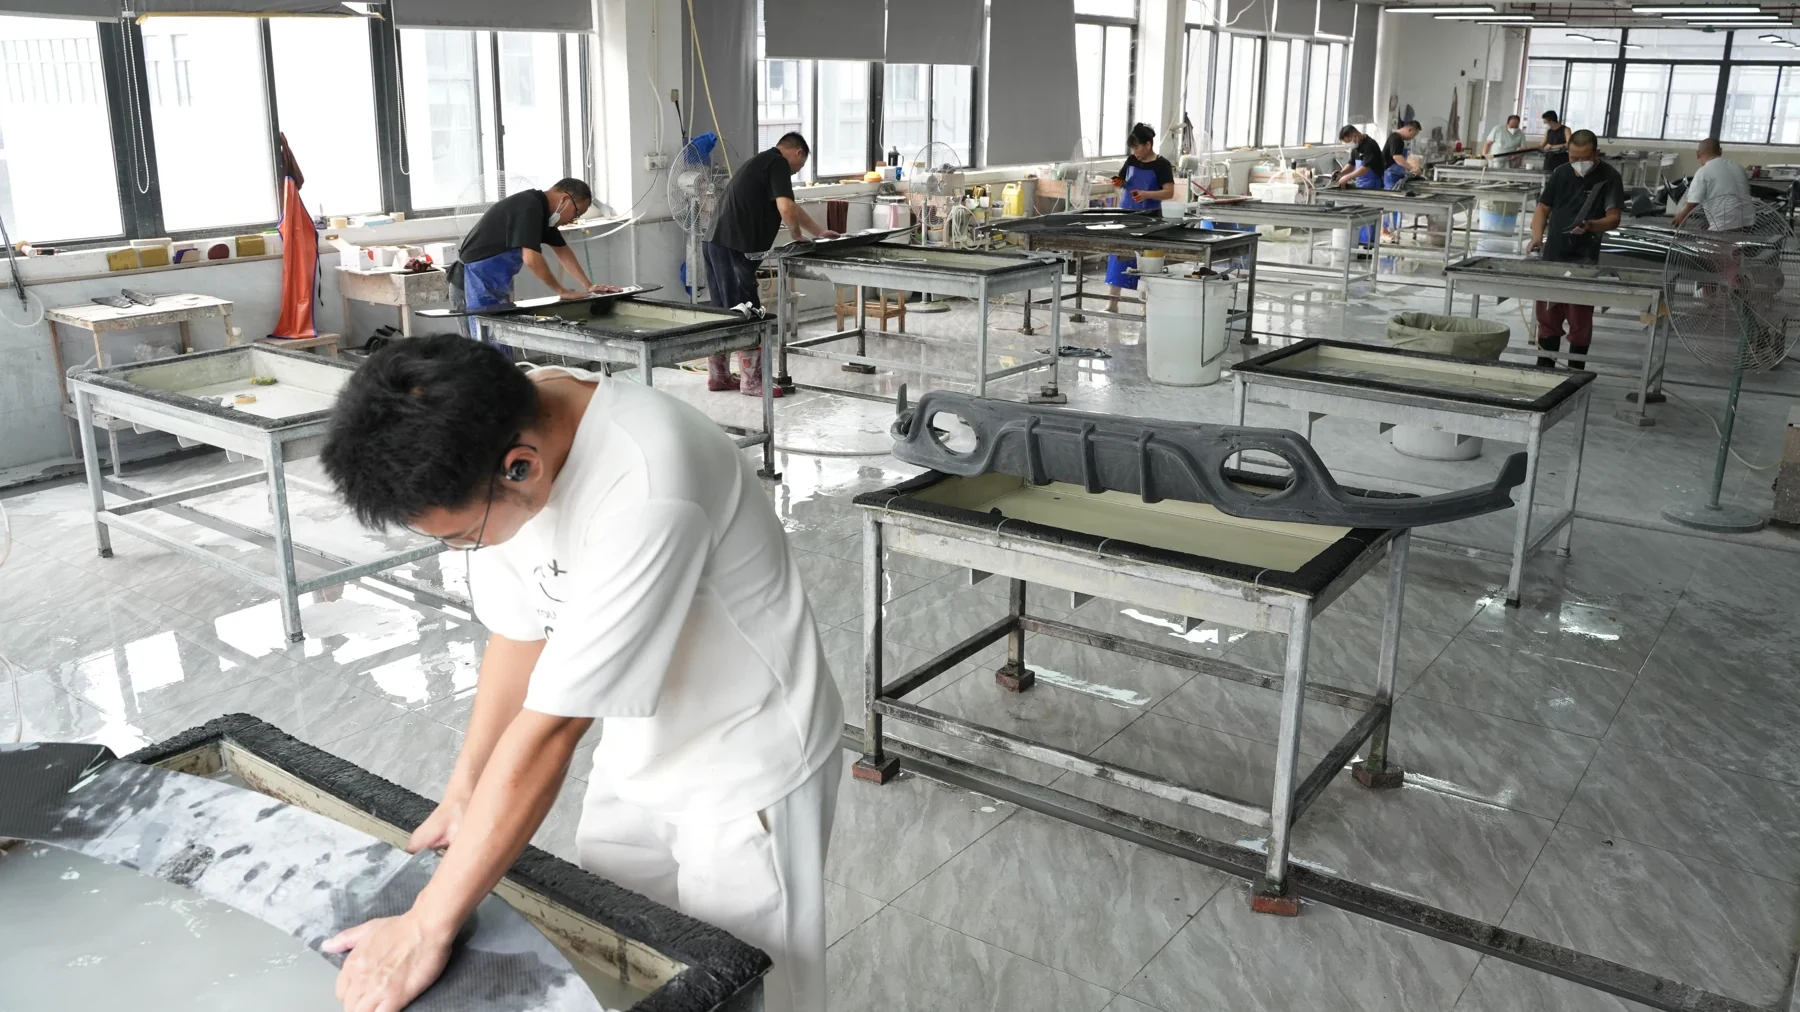
How are body kits made? Most answers start with the material — the weave, the weight, the price per square meter. That is the second half of the story. The first half is geometry. A kit is built to fit one car, and every stage before the mold exists to make sure that car and that shape agree. When a panel sits proud at the wheel arch, or a shut line wanders by six millimeters, the cause is almost never the person who bolted it on.
A custom kit moves through eight stages: scan the car, design on the scan, print a master and trial-fit it to the car, cut the mold, lay up the plies, bag the layup, cure it under heat and pressure, then trim and trial-fit the production part. The first four are about the car. The last four are about the carbon — and they only reproduce what the first four agreed to.
What follows is that sequence as it runs in a shop that builds custom aero, the failure each stage is designed to prevent, and the shortcuts that surface later as a gap you cannot adjust out.
How Are Body Kits Made? The Eight Steps
Custom body kits are not built from a catalog drawing; the drawing is a result, not an input. The whole chain fits on one page, and the right-hand column is the part buyers rarely hear about: each stage exists because something specific goes wrong without it.
Stage | What happens | What it prevents |
|---|---|---|
1 · Scan | The actual body is captured as a point cloud and aligned to the chassis | Designing to a car that sits eight millimeters off where the drawing says |
2 · Design | CAD surfaces are built on that mesh, at a set offset from the body | A shape that only works on a screen |
3 · Master and trial fit | The shape is printed, assembled, bolted to the car and corrected | Cutting a mold for a shape nobody has ever fitted |
4 · Mold | Tooling is built from the signed-off master | Reproducing the master's errors several hundred times |
5 · Layup | Plies are cut to templates and laid into the mold | Resin-rich, heavy, wavy panels |
6 · Vacuum bag | Air and volatiles are pulled out under vacuum | Voids and dry patches that only show up after clear coat |
7 · Cure | Heat and pressure take the resin to full cure | Under-cured laminate and panels that warp on demold |
8 · Trim and second fit | Edges are cut, the surface is inspected, the part goes back on a car | A kit that fits the mold but not the vehicle |
Read the table top to bottom and the split is obvious: the first four rows are decisions about the car, the last four are about copying them. That split matters, because the expensive mistakes live in the first half and the visible ones live in the second — and a supplier who skips work will skip it in the half you cannot see.
This is one piece of a longer path. The whole custom carbon fiber bodywork path, from first sketch to delivered car, is laid out in our custom aero hub; this article is the manufacturing half of it.
Step 1 — Scan the car, not the catalog
Custom body kit manufacturing rarely starts with CAD from the manufacturer. For most cars outside the current model year, the body-in-white geometry is not published, and even when a file exists it describes the car as designed, not as it sits after a bumper cover has been replaced, a panel has been shimmed, or a market-specific trim has been fitted.
So the first tool is a scanner, not a sketchbook. Optical systems work full-field: the whole surface is captured in one pass rather than touched point by point (ZEISS GOM). The output is a dense point cloud, which is then turned into a mesh — the reference surface everything else is built against.
Three practical details decide whether that mesh is worth anything.
Panels stay on the car. Scanning a bare shell gives you the shell. The kit has to sit over bumper covers, arch liners and lights, so those parts are fitted and the scan is taken with them in place. That is also how you capture the real shut lines rather than the ones in the service manual.
Gloss black is a problem. Optical scanners need contrast. Dark, shiny paint reflects the projector and leaves holes in the cloud, so those areas get a removable matte spray before scanning and are cleaned afterwards.
Hidden geometry is measured by hand. A scanner sees surfaces. Brackets, clips, horn positions and the back of a bumper beam are reached with calipers and a tape, then modeled separately. The scan gives you the outside; the fit still depends on what is behind it.
Step 2 — Design on top of the scan
CAD work starts from the mesh, not from a blank file. The designer builds new surfaces at a controlled offset from the scanned body — that offset is the panel gap you want, decided in numbers rather than by eye — and the mesh stays in the file as a reference that cannot be argued with. In our own shop this sits with a design team of twelve, and it is the stage that decides how much of the rest of the project goes to plan.
This is why "adapt an existing model" so often fails. Two cars of the same model and year can differ by several millimeters at the arch after a repair, and a kit modeled on a different car carries that difference into the mold, where it becomes permanent. The scan is not a suggestion; it is the constraint.
The design stage also settles the questions that have nothing to do with the material:
- How much arch clearance the wheel needs at full lock and full compression
- Where the splitter sits relative to the ride height the owner actually drives at
- How the rear diffuser meets the bumper cut, and whether the exhaust still clears it
- Which body line the new surface picks up, and which one it deliberately breaks
Material comes afterwards. A shape is either right for the car or it is not; carbon fiber versus fiberglass changes weight, finish and cost, not whether the panel meets the fender. If that decision is still open, the carbon fiber vs fiberglass comparison walks through it part by part.
Step 3 — Print a master, then fit it to the actual car
A master — the physical copy of the design that the mold will be taken from — used to mean clay or hand-shaped foam. Printing it changed the economics of body kit prototyping: a printer large enough for a bumper is still unusual, so the master is printed in sections, glued on a jig, filled and sanded back to the CAD surface. The printed master is not the product. It is a check you can hold. Printing goes out to a partner with a large-format machine; the scanner stays in-house. Neither choice changes the sequence, and both are cheaper than owning capacity you use twice a month.
Then it goes on the car. Not a jig, not a photo of a car: the car.
This trial fit is where a design stops being a proposal, and it is the stage that produces the awkward phone call. Gaps at the headlight are wrong by four millimeters. The arch clears the tire at rest but touches it on lock. The bumper bracket needs a relief that no one modeled. Each finding goes back into CAD, the affected section is reprinted, and the fit is checked again. Two or three loops are normal on a new shape.
A supplier who goes straight from CAD to mold saves the printing, the assembly, and the days of fitting. What they also skip is the only step that catches the difference between the model and the car. The kit that arrives is then a faithful copy of an unproven shape, and the gap is built in. Our own fitment and installation notes describe what a correct trial fit should look like before a mold is signed off.
Step 4 — Freeze the shape and cut the mold
Once the master fits, it stops changing. That is the moment body kit mold making starts: the shape is frozen, and the design becomes tooling.
A production mold is built up over the master: a tooling gelcoat that becomes the working surface, then a heavy laminate behind it, then a steel frame that keeps the whole thing flat. On shapes with simple geometry, the mold can instead be cut from tooling board on a CNC, which is faster for a single panel and cheaper than a framed tool. Either way, the rule is the same — the mold has to be stiffer than the part it makes. A mold that flexes under vacuum writes its own waviness into every panel that comes out of it, and no amount of sanding afterwards removes it.
The working surface matters more than buyers expect. On a bare carbon part, the finish you see is the finish of the mold, transferred through the resin. Pits, scratches and polish marks in the tooling show up as pits, scratches and polish marks in the clear coat — which is why mold preparation takes longer than the layup that follows.
Molds are also the part of the business that compounds. Ours run past ten thousand, accumulated over three decades, stored in racks and tracked per vehicle shape. A good mold is an asset with a working life: it gets polished, repaired, re-surfaced and eventually retired when the shape is superseded.
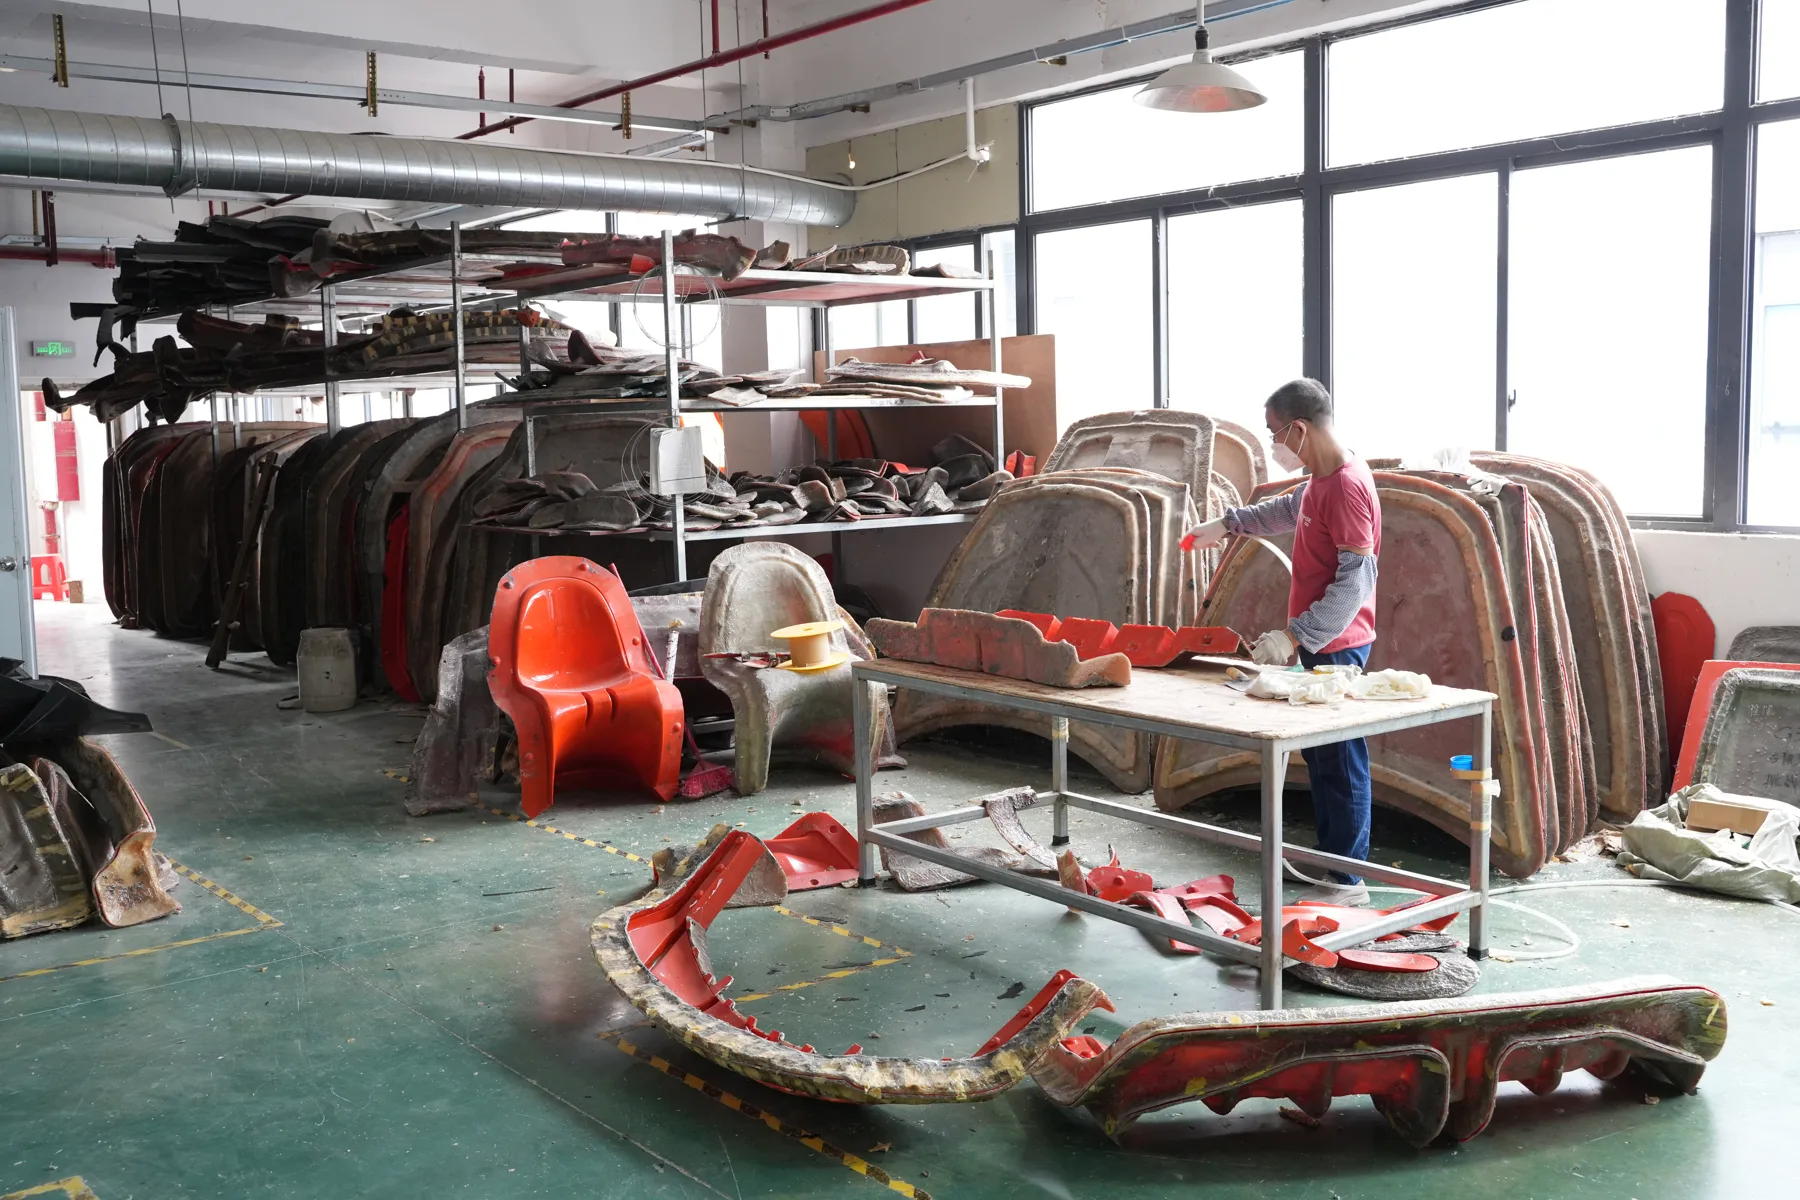
Molds in storage. Each one is a vehicle shape frozen in tooling; the library is what makes a repeat order a production job instead of a new project.
Step 5 — Lay up the plies
A composite panel is not one piece of cloth. It is a stack of plies, each cut to a template, each with a direction, and the sequence is written down before anyone touches material. Templates come from the CAD surface flattened out, nested on the cloth to keep waste down, and marked so the fiber direction of every ply is known at a glance.
Two routes are common. Wet layup wets the cloth with resin by hand and cures at room temperature: cheap tooling, cheap process, more resin than the part needs. Prepreg arrives with the resin already in it at a fixed ratio, which means the ply has to be kept cold until it is used and then cured under heat and pressure. Prepreg gives a lighter, more consistent part; wet layup survives on cost.
Low volume is the reason hand layup still exists in a factory that owns autoclaves. A one-off set does not justify matched metal tooling or a press, and the labor that goes into laying six plies by hand is a fraction of what a dedicated production line would cost to set up. The material grade — dry carbon, high-temperature vacuum carbon, FRP, ABS, PP — is chosen per part and listed on the quotation, and the material grades page explains what each one does to weight, finish and price.
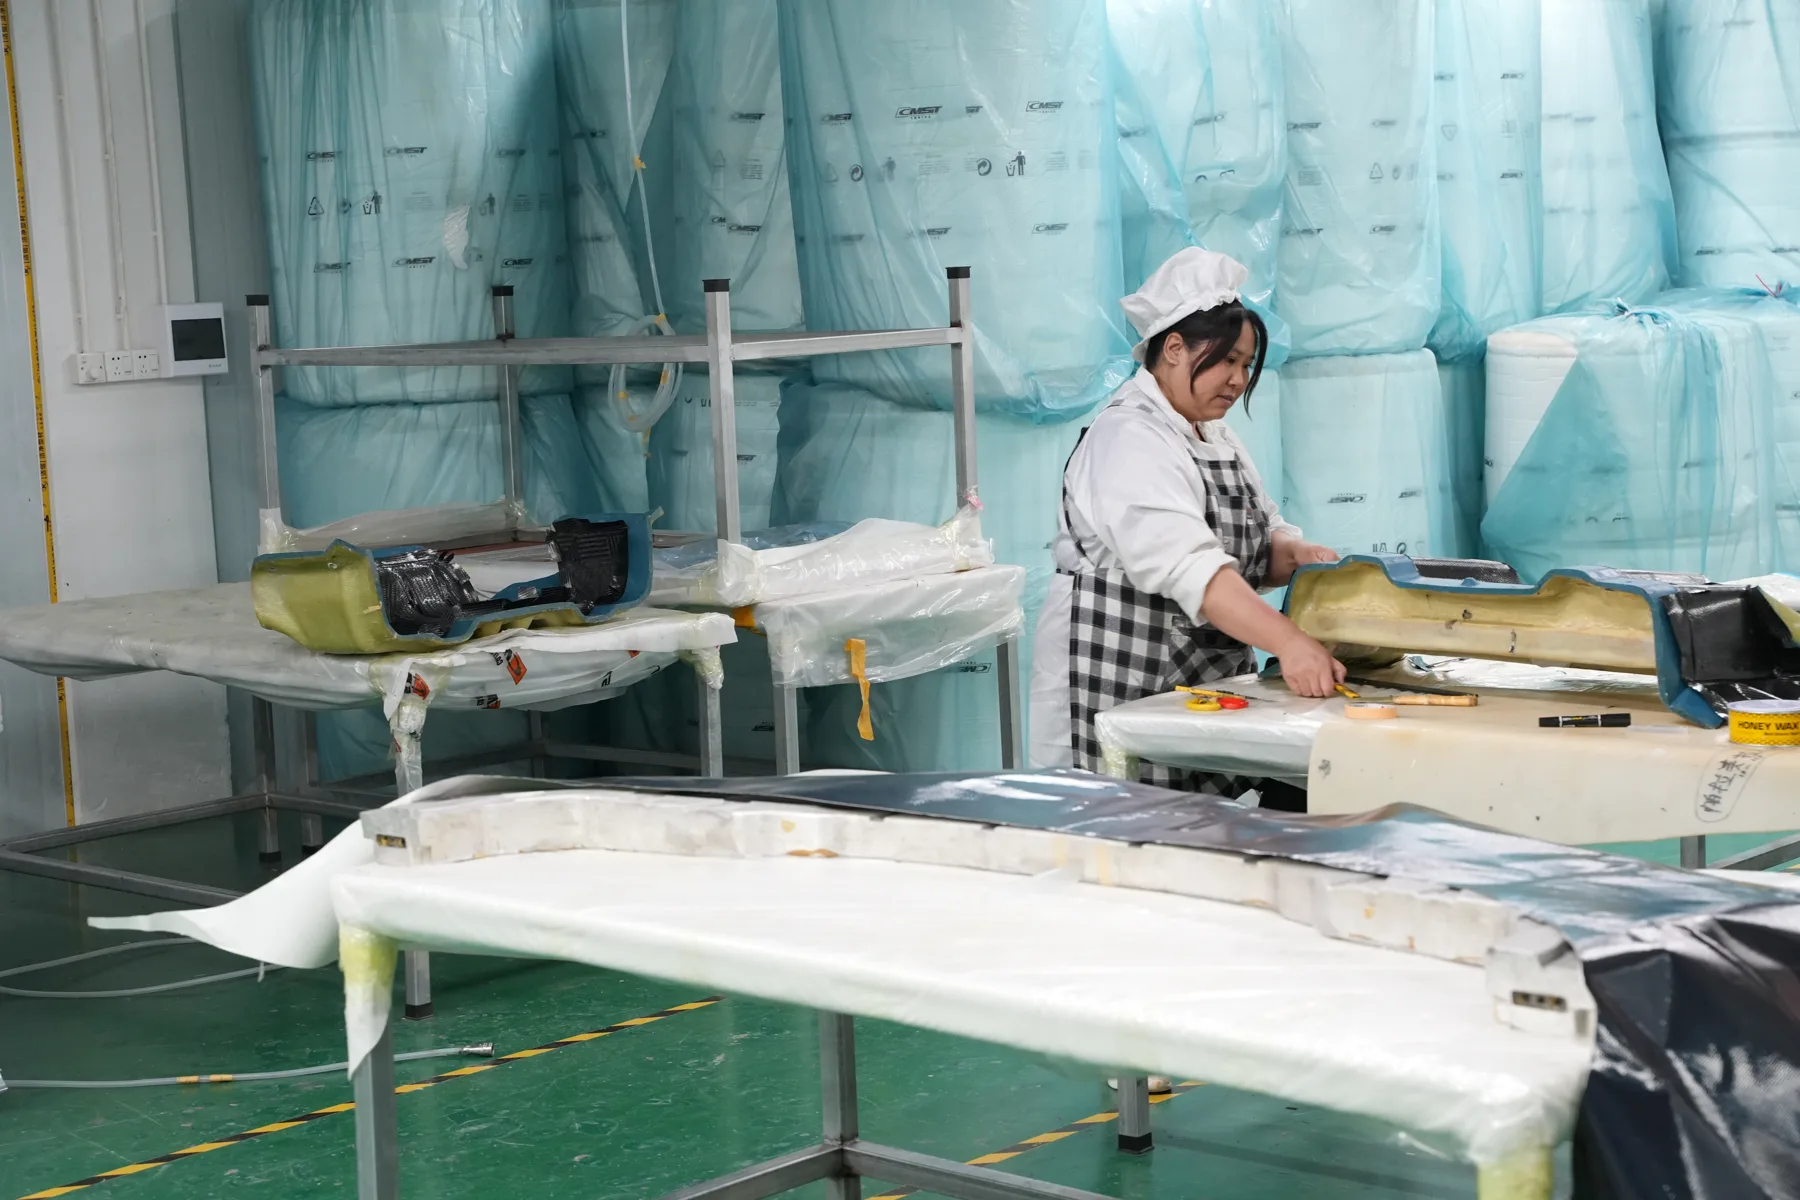
Bench work at the layup area, with the material store behind it and the tools the job needs within reach. Plies reach this table already cut to templates taken off the flattened CAD surface — the cutting happens before the layup, not at it.
Step 6 — Vacuum bag and consolidate
Before the part is cured, everything on top of it is peeled off again and replaced with a bag.
The stack goes on in a fixed order: a peel ply against the laminate, then a perforated release film if the part needs a bondable surface, then breather cloth to carry air out, then the bag film sealed to the mold flange with tacky tape, with vacuum ports feeding through. Pull a vacuum and the atmosphere does the work — the bag presses the plies against the mold, the breather carries air and volatiles to the ports, and excess resin moves into the bleeder.
Thick sections are debulked between plies: bag it, pull vacuum, let the stack compact, then take the bag off and keep laying. Skipping debulk traps air between layers that no later step can remove. The bag also has to be leak-tested. A slow leak does not usually fail the part outright; it leaves a pale, resin-starved patch that looks fine until the clear coat goes on and the weave reads dry in one corner.
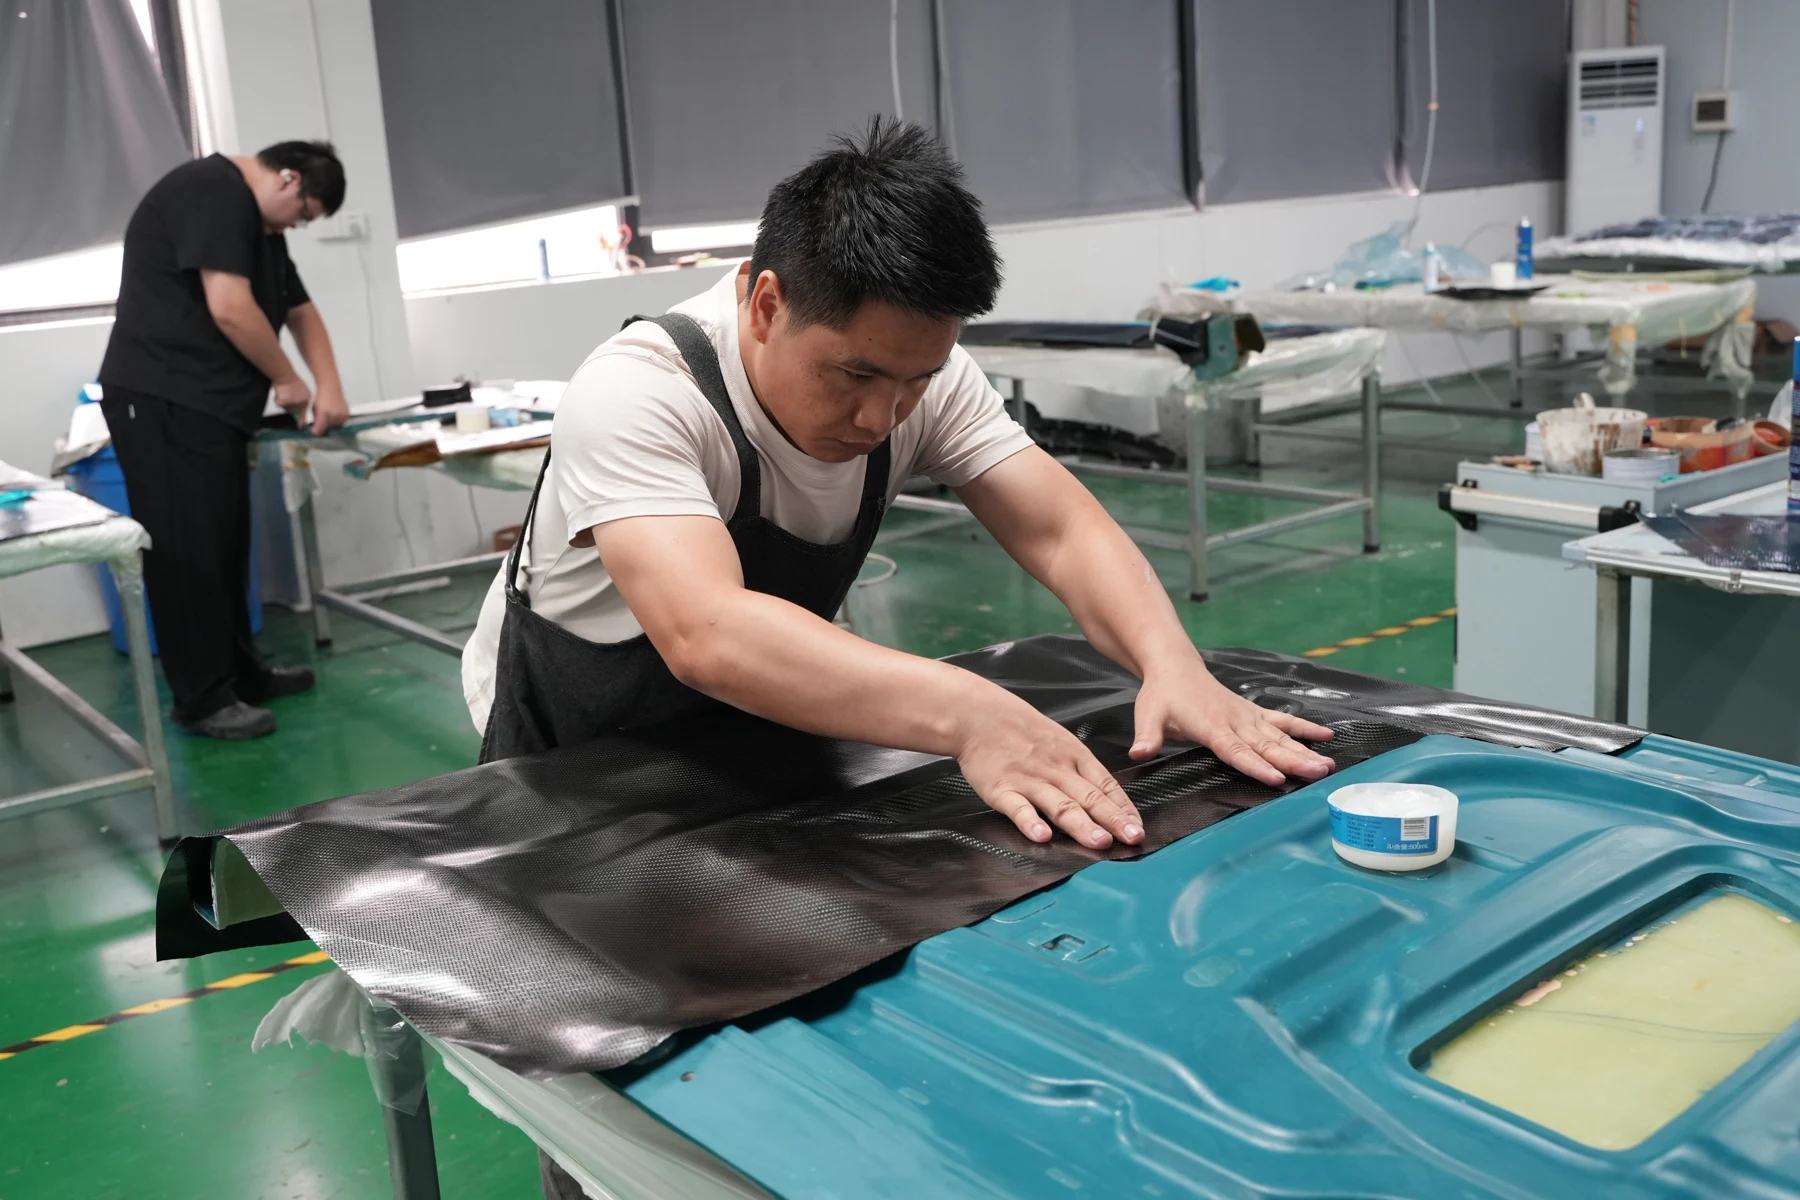
Plies going into a panel mold. The bag, the breather and the vacuum ports all sit on top of this; the surface underneath is what the part will look like.
Step 7 — Cure under heat and pressure
Vacuum alone consolidates a laminate. Heat and pressure make it a structural part, and the autoclave is the tool that delivers both at once. In the autoclave, pressure and heat reach the part through the vessel atmosphere, and the vacuum bag adds local pressure while protecting the laminate from the gases (CompositesWorld).
The cycle is not one temperature. A typical aerospace cure ramps to an intermediate hold so the resin drops in viscosity and lets trapped air out, then ramps to the final cure temperature and holds long enough to finish the reaction. Reference cycles for structural prepreg sit around 85 psi and 177 °C (CompositesWorld). Cooling is part of the recipe too: ramp down too fast and the part warps as the tool and the laminate contract at different rates (CompositesWorld).
Pressure is doing two jobs at once. It compacts the plies so the fiber volume fraction is consistent, and it suppresses the voids that vacuum could not pull out. That is the difference between a panel that looks right and a panel that is right: a low-pressure part can pass a visual check and still be resin-rich and heavier than the drawing says.
The carbon in the cloth started as a precursor fiber, heated and stretched until it became a stiff filament a few microns across (CompositesWorld). The cure is what turns that fiber into a panel.
We run two autoclaves, and they set the ceiling on what a given day can produce — which is why cure time, not layup time, often decides the delivery date on a carbon order. Parts that do not need autoclave pressure are cured under vacuum in an oven instead: that is the difference between dry carbon and high-temperature vacuum carbon, and it is a cost decision as much as a technical one.
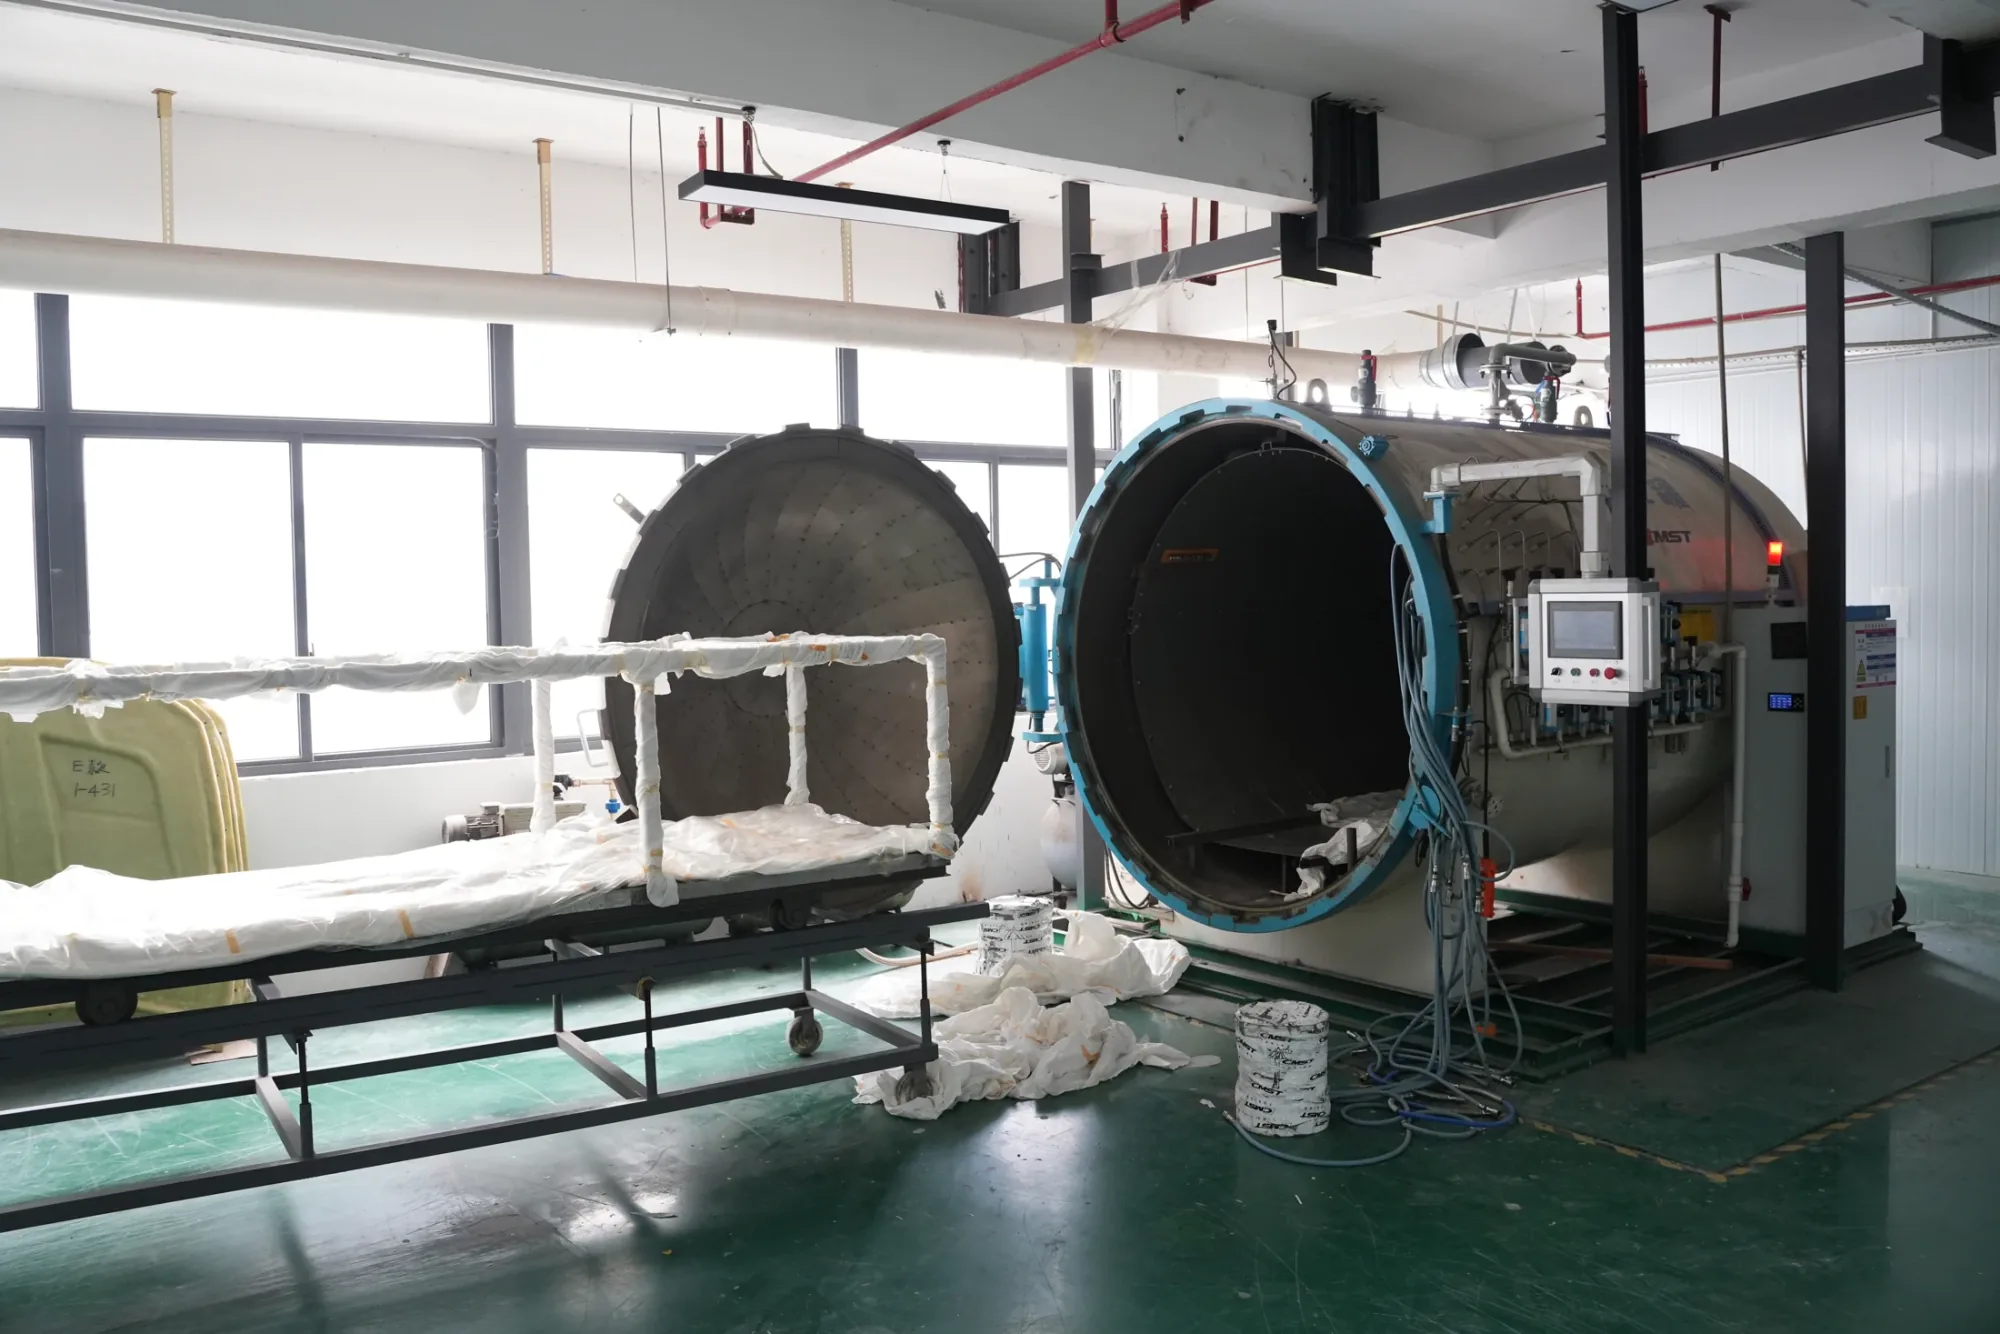
Both vessels open between cycles, with bagged parts staged on the trolley. The cure schedule, not the layup bench, sets the daily ceiling.
Step 8 — Trim, inspect, and trial-fit again
Out of the mold, a part is close to finished and not finished. The edge is trimmed to the trim line, the surface is wet-sanded, and — if the part is staying bare — the clear coat goes on.
Inspection at this point is a list, not an opinion:
No pits. No white or cloudy patches. No waves along a reflection. No wrinkles in the laminate. No touch-up printing hiding a defect.
Each of those has a cause upstream — a mold polish mark, a bag leak, a ply that did not follow the surface, a repair that was painted over — and each one is cheap to catch here and expensive to argue about after shipping.
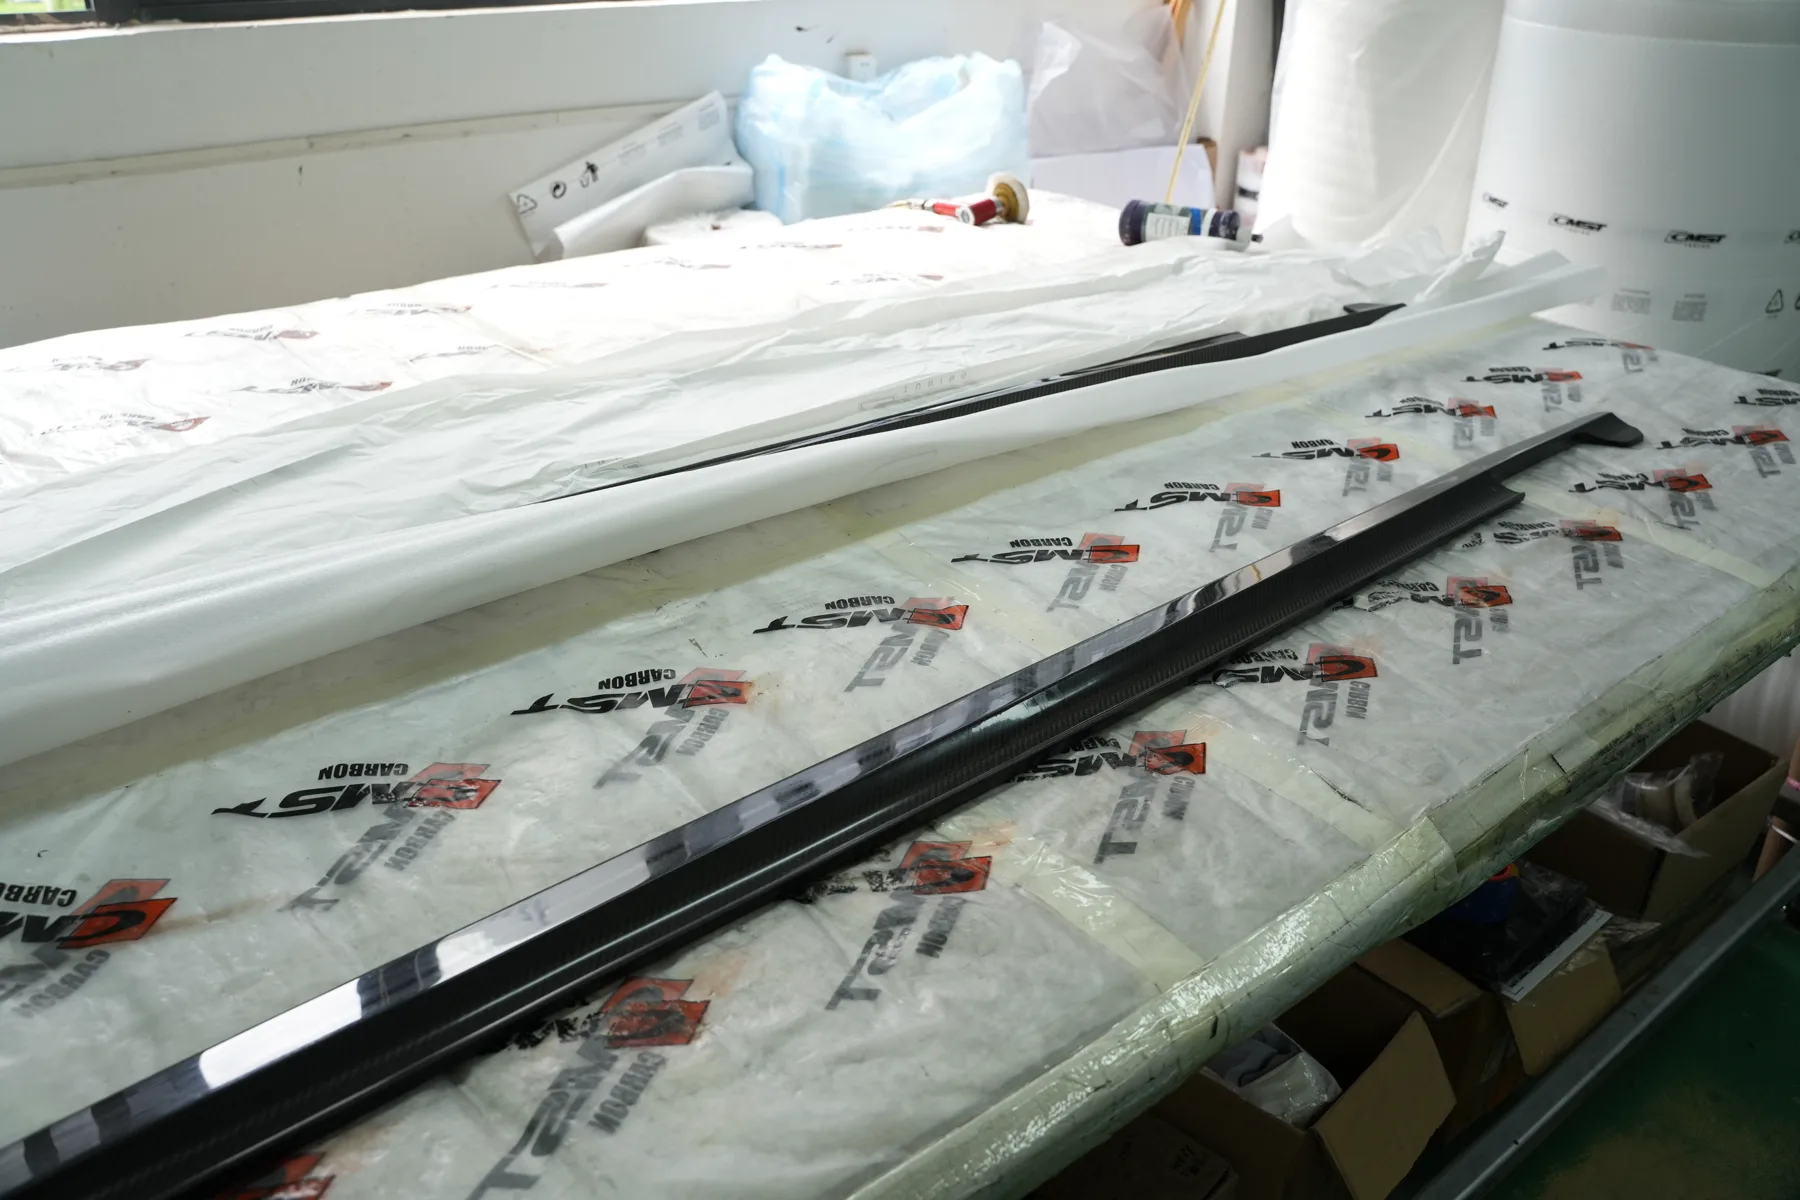
Past the surface check: finished panels wrapped in protective film and staged for packing on the shop bench. The list above is the last gate before a part leaves it.
Then the part goes back on a car. The second trial fit is on the production part, not the master, because the mold, the layup and the cure each move the surface a little. It is the last chance to catch a stack-up that only appears once a real part exists, and it is the check that separates a kit that fits from a kit that nearly fits. Finished builds, photographed on customer cars, are in the build gallery.
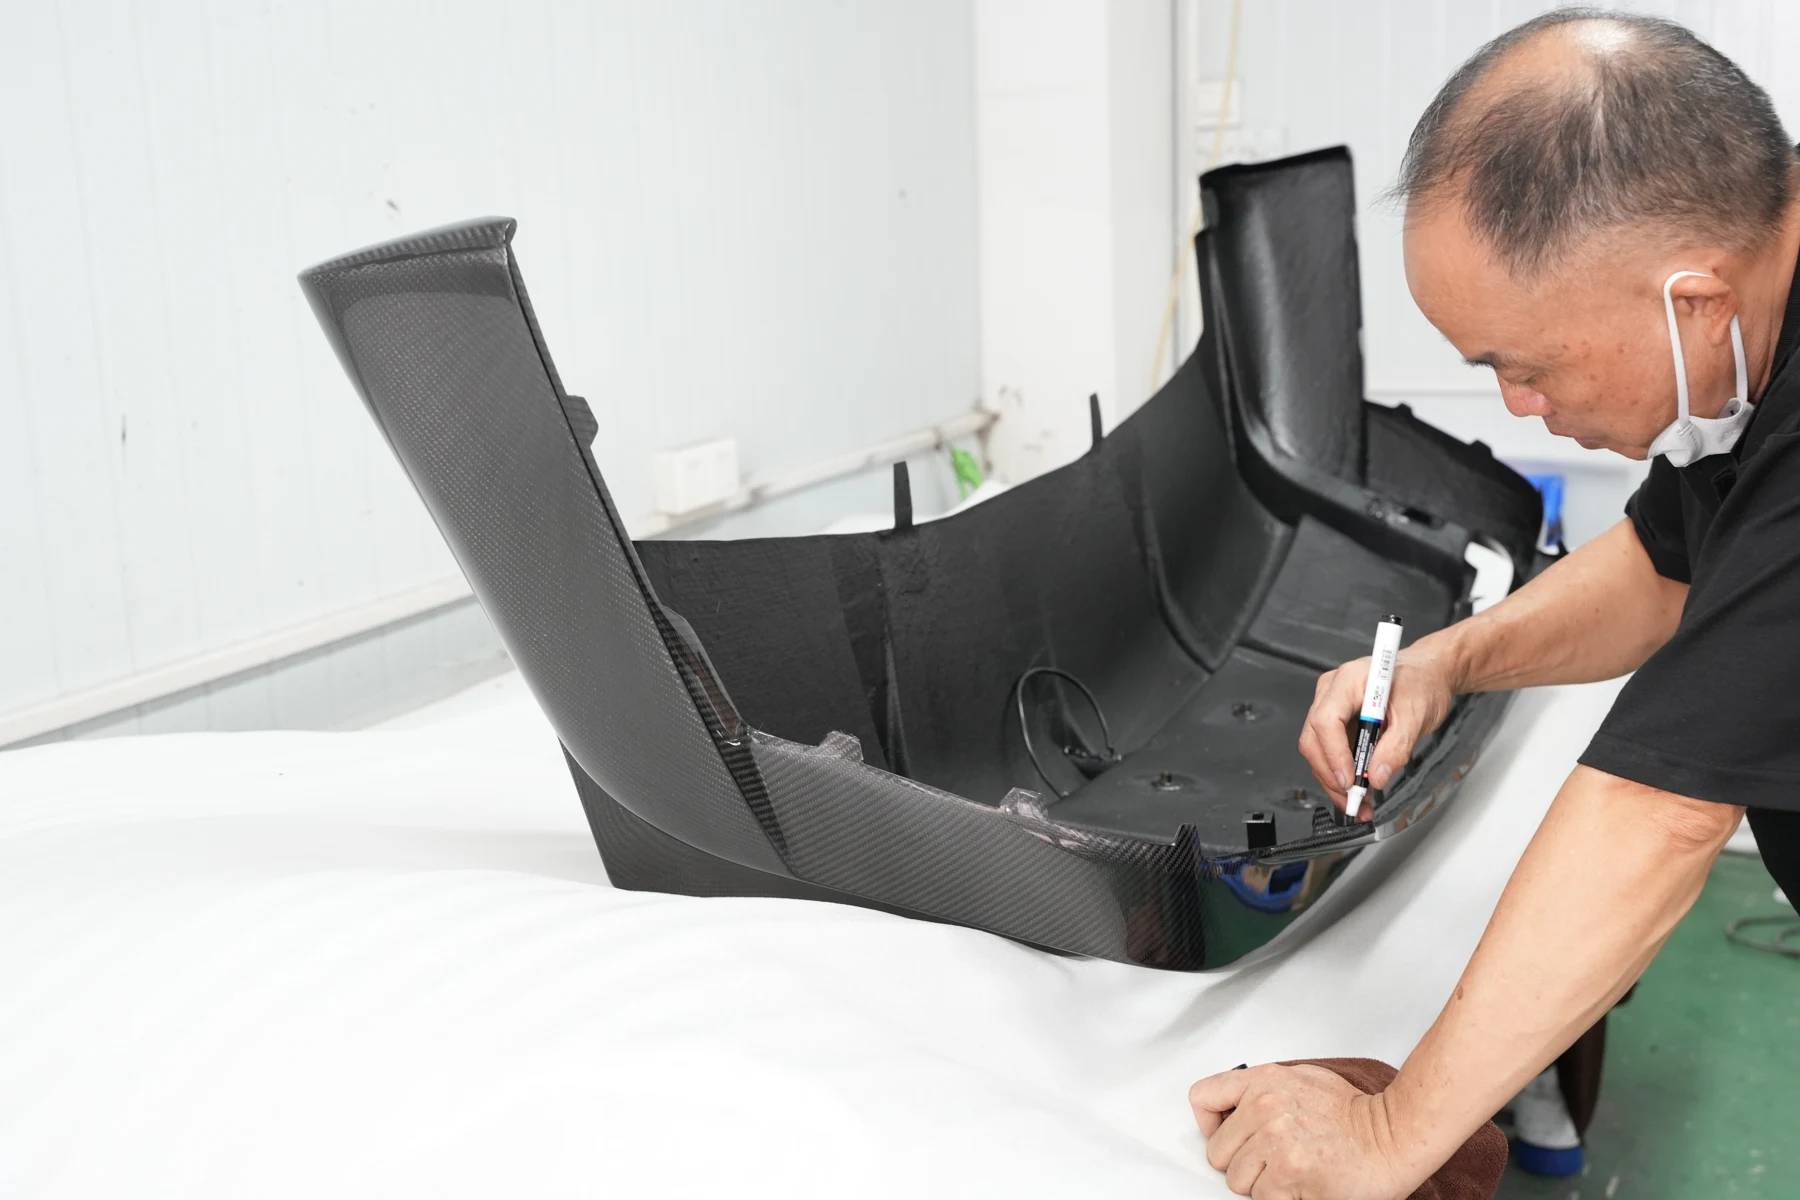
A finished shell in the trimming bay, mounting points marked by hand on tape before it goes back on a car. The printed master went through the same check in Step 3; this is the version that counts, because this is the part that ships.
What the sequence costs — and what cheap kits skip
Time and money both live in the first four stages, and the answer to how are body kits made depends on whether the shape already exists. The layup and the cure are skilled work, but they are repeatable; scanning, printing and trial-fitting are where a new shape consumes weeks.
Skipped stage | What it saves | What you get instead |
|---|---|---|
Scan | A day of scanning and a week of surfacing | A shape built on assumptions about a car nobody measured |
Printed master and trial fit | One to three weeks and the printing cost | A mold cut for an unproven shape; gaps that cannot be adjusted out |
Proper tooling | The tooling spend | Panels that inherit the mold's flex, wave and polish marks |
Debulk and bag checks | Hours of labor per part | Voids and dry patches under the clear coat |
Full cure cycle | Autoclave hours | Under-cured laminate that moves and fades |
Second trial fit | A day on the car | A kit that fits the mold and not the vehicle |
Catalog kits — the ones already tooled for a specific model — run through the back half of this sequence only, which is why a standard set can ship in seven to twenty days. A new custom shape adds the front half: design, master, trial fit, revisions. That front half is also why a one-off is possible at all. With the master-and-fit route in place, a minimum order of one set is a production decision rather than an exception.
What to ask a supplier before you commission a kit
Most of these questions have a short, checkable answer. The ones that come back vague are the ones that matter.
Question | A good answer | What a bad answer sounds like |
|---|---|---|
Will you scan my car, or work from a model? | Scan or measured survey, with the panels fitted | "We have the file for that model" |
Do I see a physical part on the car before tooling? | Yes — a printed or hand-built master, trial-fitted | "The CAD is checked by our engineer" |
How many trial-fit rounds are included? | A number, and what an extra round costs | "As many as it takes", with no schedule |
Who builds the mold, and how is it finished? | In-house tooling, with the surface spec stated | Silence, or a description of the part rather than the tool |
How is the part consolidated and cured? | Vacuum bag plus autoclave, or vacuum plus oven, stated per grade | "High quality carbon fiber" |
What are the surface acceptance criteria? | A written list — pits, blush, waves, wrinkles | "We check every part" |
What is the minimum order for a one-off? | A number, with the tooling cost separated | A price with no breakdown |
The pattern behind the table is simple: a supplier who has done the front half of the sequence can describe it in specifics. One who has not will describe the material instead. If you are commissioning a set for a shop, a car collection or a dealer program, our OEM and ODM page sets out how a project runs from first measurement to delivery.
Short answers
How long does a custom kit take? Catalog kits ship in seven to twenty days. A new shape adds the scan, the master and the trial-fit rounds, so the calendar is set by how many corrections the car needs, not by the layup. Ask for the fit rounds to be scheduled explicitly; that is the part that moves.
Can I order a single set? Yes. Minimum order is one set, and mixed orders are accepted. The tooling is the fixed cost, which is why the second set is much cheaper than the first.
Do I have to send the car? Not always, but a car of the same specification has to be available for the fit at some point — the owner's car, a car at the factory, or a first-article part sent out and checked before the production run. What does not work is skipping the fit and hoping the model was right.
Can I make one myself? Partly. A foam or glass buck can be shaped at home, and that is where most guides on how to make a body kit stop. What does not travel home is the rest of the sequence: the shape still has to be trial-fitted to the real car before a mold is cut, and a repeatable cure needs vacuum and heat rather than a garage. Fit, tooling and cure are most of what a shop sells you. The buck is a fair place to stop and hand over — but stop there on purpose, not because a video ended.
A bespoke body kit is not expensive because it is carbon. It is expensive because someone measured your car, printed the shape, bolted it on, corrected it, and only then cut the tool. The carbon is the easy part to describe — and the last part of the job.
Next step
Send the vehicle, the parts you are considering and the finish you want — we reply with fitment notes and a quote.
Send an inquiryKeep reading
Related notes

BMW M4 Widebody Kits (G82): A Buyer's Guide
Going wide on a G82 M4 is bodywork, not styling. What a widebody kit contains, what gets cut, what it costs, and the four decisions to settle before you order.

What Is a Widebody Kit? A Beginner's Guide
A widebody kit widens a car's arches so wider wheels and tires will fit. Here's what is in one, what gets cut, and how to tell if a wide build suits your car.
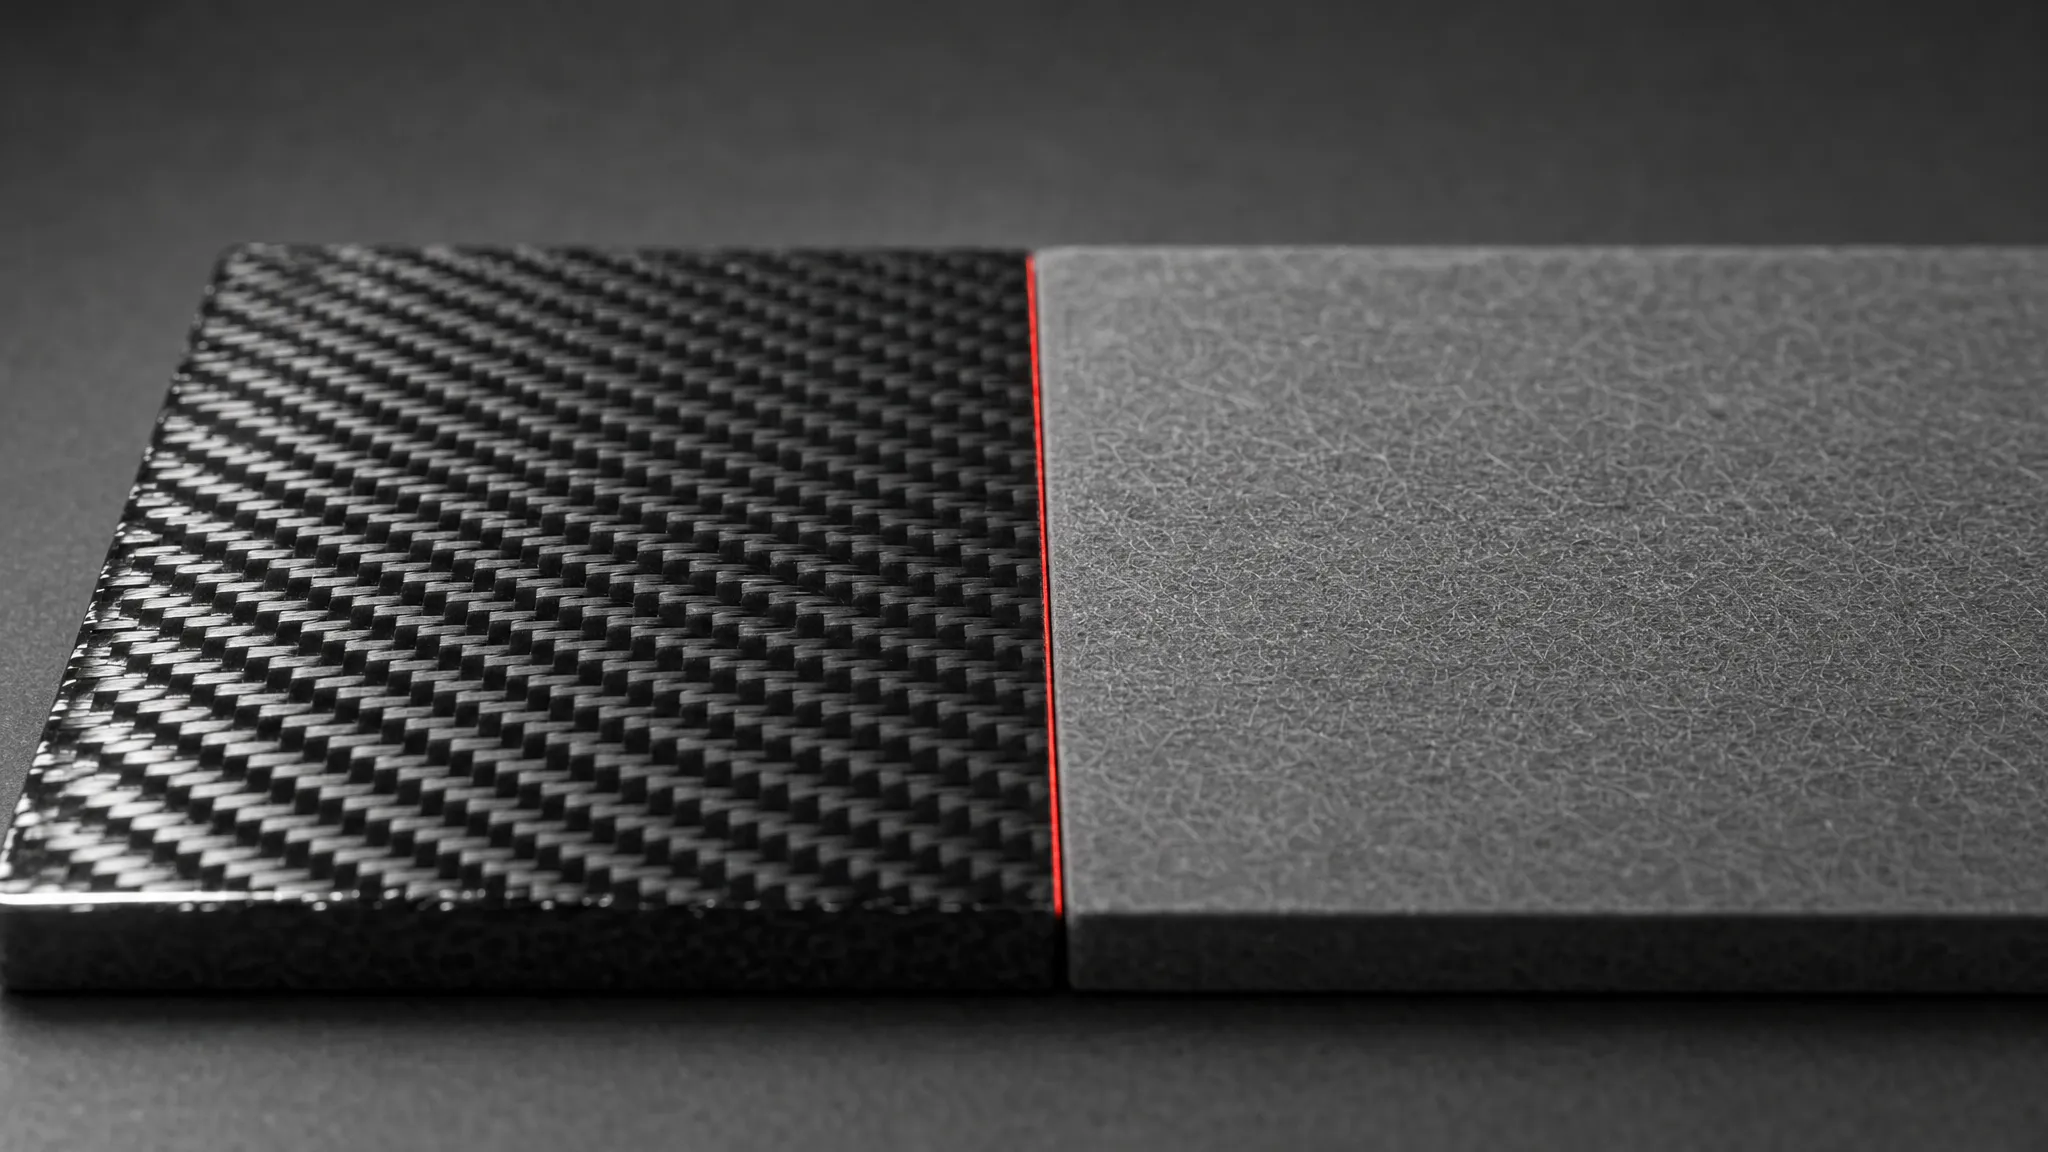
Carbon Fiber vs Fiberglass Body Kits
Carbon fiber or fiberglass for a body kit? Part by part: carbon earns its price on hoods, wings and diffusers; FRP and molded plastic win on bumpers and arches.